Exploring the charming world of DIY Christmas candy decorations offers a delightful way to enhance your home with festive cheer. This holiday season, transform your space with simple, budget-friendly creations. From colorful candy garlands and enchanting ornaments to eye-catching centerpieces and whimsical wreaths, you’ll find endless possibilities to express your creativity. Using accessible materials, many already at home, these projects celebrate both sustainability and ingenuity. Whether adorning your tree or crafting candy cane pathways, each idea invites you to infuse your home with the warmth and joy of the season. Dive into this guide to create enchanting decor that amazes all.
Key Takeaways
- DIY Christmas candy decorations are an effective and budget-friendly way to enhance your home’s festive ambiance with charm and creativity.
- Using materials already available at home can make creating candy-themed decorations both sustainable and affordable.
- Crafting candy garlands, ornaments, and centerpieces can add vibrant, colorful elements to your holiday decor.
- Candy-themed wreaths and jar displays can offer a delightful, welcoming touch to your home’s interior and exterior.
- DIY candy cane pathways can infuse even the outdoors with seasonal whimsy and playfulness, making every corner of your space inviting.
Selecting Your Materials
Choosing the right materials for creating Christmas candy decorations is essential to infuse creativity with sustainability. A thoughtful selection not only enhances the aesthetic appeal but also ensures that your decorations are eco-friendly and durable.
Start with Recyclable Materials: Opt for biodegradable and recyclable materials wherever possible. Paper, cardboard, and natural fibers can be transformed into striking candy shapes while maintaining environmental responsibility.
Utilize Common Household Items: Explore your pantry for unused edible items or packaging that can double as decorative elements. For instance, pasta can be painted and strung into garlands, while glass jars can be repurposed as candy displays.
Invest in High-quality Crafting Supplies: When selecting crafting supplies, prioritize quality over quantity. Durable glue, paint, and brushes will ensure your creations withstand the festive season, while colorful ribbons and yarn provide finishing touches to your decorations.
Incorporate Natural Elements: Introduce elements like branches, twigs, or dried flowers to add a fresh, organic dimension to your designs. These materials are not only cost-effective but also beautifully complement the candy theme with their natural hues and textures.
Explore Sustainable Alternatives: For those aiming to reduce their carbon footprint, several sustainable options exist. Biodegradable glitter, soy-based inks, and plant-based adhesives are excellent choices that do not compromise creativity or quality.
By carefully selecting materials with a focus on sustainability and innovation, your DIY Christmas candy decorations will not only captivate with their charm but also reflect a commitment to a more environmentally conscious festive season.
Crafting Candy Garlands
Crafting candy garlands is a delightful way to infuse your home with holiday spirit. Begin by gathering essential materials such as string or thin ribbon, brightly wrapped candies like peppermints or gumdrops, and scissors. For a more sustainable approach, consider using homemade salt dough candies painted in vibrant holiday hues.
Start by cutting a length of string to your desired length. Make sure it’s long enough to drape elegantly across your tree or mantel. Next, carefully unwrap a small section of each candy wrapper and thread the string through, securing the candy in place. If you’re using salt dough candies, attach them using a hot glue gun for stability.
For added flair, incorporate pops of greenery or small festive baubles between the items. Alternating textures and colors can enhance the visual appeal, creating a cohesive and inviting look. Ensure that each piece is securely positioned to maintain the integrity of the garland and prevent drooping.
Consider this exciting quote from a home décor enthusiast: “A candy garland is more than just a decoration; it’s a sweet invitation to celebrate the spirit of the season.”
Once completed, hang your candy garland harmoniously alongside other decorations, allowing it to capture the festive ambiance. Remember, placing the garland in visible but less frequently handled areas can help preserve the candies throughout the holiday season, ensuring it remains an enchanting highlight of your décor.
Creating Candy Ornaments
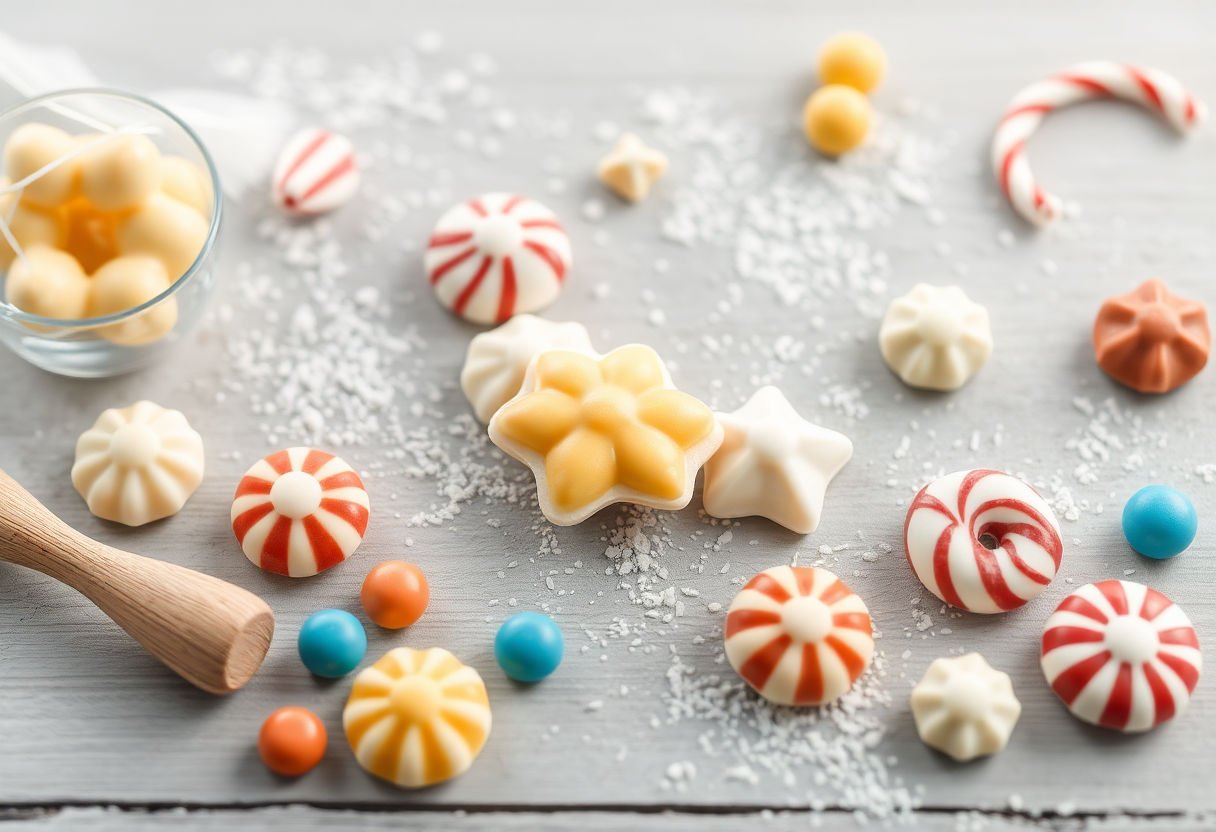
Creating candy ornaments for your Christmas tree combines the charm of tradition with whimsical creativity. These sweet additions offer a delightful twist, infusing a personal touch to your festive decor. With a bit of imagination and some simple materials, you can craft ornaments that not only look inviting but also invoke sweet childhood memories.
Start by gathering your materials: colorful hard candies, clear plastic ornament balls, decorative ribbons, and a hot glue gun. Opt for candies known for their vibrant hues, such as peppermint swirls, because their vivid colors capture the holiday spirit beautifully.
Step 1: Begin with filling clear plastic ornament balls. Carefully open each candy wrapper and nestle the candies inside the transparent sphere. This creates a stunning visual effect, as each piece catches the light differently, adding a unique sparkle to your tree.
Step 2: For a more involved design, consider creating candy clusters. Glue several candies together in small bunches, forming shapes such as stars or hearts. Use decorative ribbons to fashion loops for hanging, enhancing the overall aesthetic with pops of color.
Step 3: Experiment with incorporating non-candy elements. Stick to complementary items like cinnamon sticks or dried orange slices. These not only add visual interest but also blend fragrantly with the season’s aromas, lending an extra sensory dimension to your ornaments.
In crafting these candy ornaments, remember that moderation is key. Their vibrant presence should enhance your tree decor without overwhelming it. Each piece is a testament to the festive joy and creativity that imbues the holiday season, making your home uniquely yours.
Sweet Centerpieces
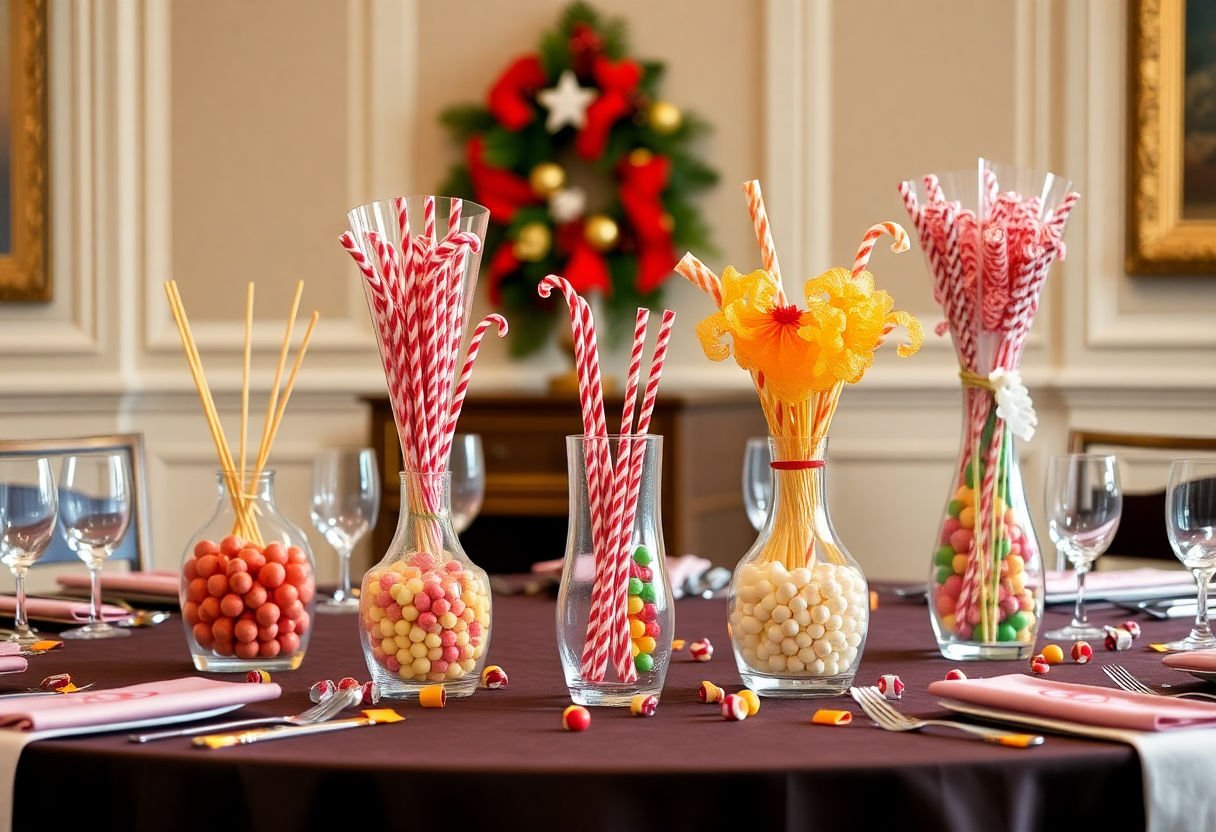
Creating a captivating centerpiece using candy is a splendid way to bring a touch of whimsy and color to your holiday dining experience. To craft these sweet centerpieces, you will need a selection of vibrant candies, glass vases or bowls, and some decorative accessories to complete the look.
Begin by selecting a variety of candies that will not only be delectable for guests but also visually stunning. Popular choices include colorful peppermints, candy canes, and gumdrops. Arranging these candies in layers inside a clear glass vase creates an attractive display that can be further enhanced with elegant ribbons or sparkling fairy lights wrapped around the vessel.
Steps to Assemble Your Sweet Centerpiece:
-
Choose Your Base: Select a sturdy glass vase or a bowl as the base of your centerpiece. Ensure it is clean and dry before starting.
-
Layer the Candies: Begin with a base layer of larger candies such as candy canes, followed by smaller sweets like gumdrops or jellybeans. Alternate colors and textures for a dynamic effect.
-
Add Decorative Elements: Incorporate natural elements like sprigs of pine or holly between the candy layers. This adds a festive touch while complementing the candy’s vivid hues.
-
Top it Off: Finish your creation with a striking element, such as a small ornament or a larger candy piece, placed atop the layers to solidify the theme.
By following these steps, you’ll craft a dazzling candy centerpiece that not only delights the eye but also adds a playful, festive spirit to your holiday table.
Creating a Candy-Themed Wreath
Crafting a candy-themed wreath offers a delightful way to infuse your home with the sweet spirit of the season. Begin by gathering a foam wreath form as your base, which can be easily found at any craft store. Opt for a size suitable to your intended display space, usually between 12 and 18 inches in diameter.
Materials Needed:
- Foam wreath form
- Assorted wrapped candies (peppermints, gumdrops, and candy canes work well)
- Hot glue gun and glue sticks
- Ribbon for hanging
- Optional: decorative bows or holiday-themed embellishments
Instructions:
-
Wrap the Base: Start by wrapping the foam wreath form with a ribbon or fabric. This will act as a background and secure the candies. Choose bright colors to add a pop of festivity.
-
Arrange the Candies: Lay out your candies before adhering them to ensure a well-balanced design. Consider alternating patterns or creating sections of similar types.
-
Adhere the Candies: Using a hot glue gun, carefully glue each piece of candy to your wreath. Be mindful of hot glue strings, which can detract from the overall appearance. Press firmly and allow a few seconds for each piece to set.
-
Add Finishing Touches: Tie a large bow at the top or bottom of the wreath. If desired, enhance your design with other holiday-themed elements such as small ornaments or faux greenery.
-
Secure and Display: Attach a loop of ribbon to the back as a hanger. Display your candy wreath on a front door or above a mantel to welcome guests with a sweet touch.
Creating a candy-themed wreath not only allows for personalized creativity but also embodies the joy and warmth of the holiday season.
Fashioning Candy Jar Displays
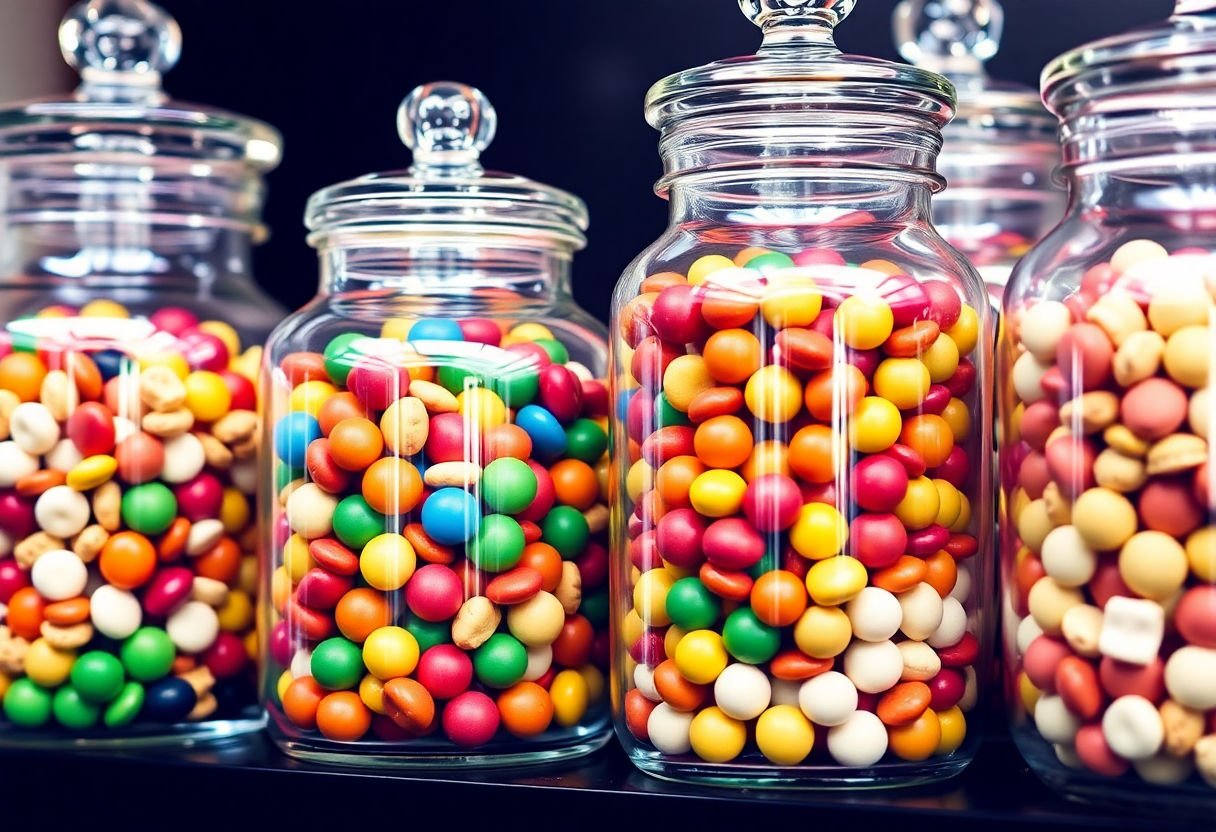
To add a whimsical and festive touch to your home, crafting candy jar displays is an innovative and delightful approach. These jars not only provide a sweet treat but also serve as captivating visual accents that brighten any room. Here are some creative ideas to inspire your candy jar displays this Christmas:
-
Choose a Variety of Candy: Select a range of colorful candies to fill your jars. Consider classic choices like peppermint candies, gumdrops, and chocolate kisses. Each candy type adds its own unique color and texture, creating a vibrant and appealing assortment.
-
Stylish Containers: Opt for glass jars of varying shapes and sizes to display your sweets. Tall cylindrical jars, wide-mouthed fishbowl-style containers, and elegant apothecary jars each create a different aesthetic. Ensure the jars are transparent to showcase the candy’s vivid colors.
-
Layering Techniques: Use layering to add visual interest. Begin with a base of uniformly-colored candies, like red M&M’s, and layer different shades and shapes on top. This technique not only magnifies the candy’s allure but also plays with depth and dimension.
-
Adding Extra Touches: Incorporate ribbons, bows, and holiday-themed adornments around the jar lids or bases for an extra festive flair. Metallic accents in gold or silver provide a sophisticated touch and elevate the overall aesthetic.
-
Arranging and Displaying: Strategically place these jars around the house. Position one on the coffee table, another on a kitchen counter, and perhaps a third in the entryway. Such placements ensure that every space radiates warmth and holiday cheer.
These candy jar displays effortlessly capture the essence of Christmas, infusing your home with sweetness and sparkle.
DIY Candy Cane Pathways

Transform your outdoor space into a festive wonderland with DIY candy cane pathways. These charming markers not only guide guests to your door but also add a whimsical touch to your Christmas décor. To create them, begin by gathering the necessary materials: PVC pipes for durability, red and white duct tape or paint for the iconic candy cane stripes, and sturdy stakes to anchor your candy canes securely into the ground.
Steps to Craft Your Candy Cane Pathway:
-
Measure and Cut the PVC Pipes: Determine how tall you’d like your candy canes to stand. Typically, a height of 4 to 5 feet creates a dramatic and inviting look. Use a saw to cut the PVC pipes to the desired length.
-
Create Candy Cane Stripes: Use red and white duct tape to spiral around the PVC pipes, mimicking the classic candy cane appearance. For a more permanent solution, consider spray painting the stripes after applying a primer.
-
Attach Stakes for Support: To ensure your candy canes stand up against winter winds, attach a metal or wooden stake inside or outside the bottom of the PVC pipe. This stake will be inserted into the ground for stability.
-
Illuminate Your Pathway: For an added touch of magic, wrap battery-operated fairy lights around your candy canes, securing them discreetly with clear tape.
Place these candy canes along your walkway, driveway, or garden paths. Not only do they guide visitors safely, but they also spread holiday cheer with their vibrant colors and classic design, ensuring your home stands out this festive season.
Conclusion
Crafting your own DIY Christmas candy decorations brings an unparalleled joy and a unique sense of accomplishment. By engaging in this creative pursuit, you not only enhance the festive atmosphere of your home but also emphasize a commitment to sustainability and individuality. These decorations, beyond their aesthetic appeal, foster a warm festive spirit that resonates throughout the holiday season. Looking ahead, continue to explore innovative materials and techniques, ensuring each holiday is imbued with fresh originality and excitement. Embrace this opportunity to express creativity, surprise your guests, and create lasting memories lovingly crafted by hand.
Frequently Asked Questions
How can I make sure my DIY candy decorations are safe for children and pets?
Ensuring the safety of your decorations involves using non-toxic materials and placing them out of reach of small children and pets. If using edible candies, avoid choking hazards and remember to check for common allergens.
What are the best ways to store these DIY decorations for reuse next year?
Store your candy decorations in a cool, dry place, ideally in airtight containers to prevent deterioration. Before storage, wrap them in tissue paper or bubble wrap to avoid damage.
Can I create these decorations using items I already have at home?
Yes, many DIY Christmas candy decorations can be crafted with everyday items such as paper, yarn, and recycled materials. Repurposing existing household items not only saves money but also adds a creative touch.
Is there a way to make these decorations more sustainable?
Opt for biodegradable or recyclable materials where possible, such as using real foliage or recycled paper. You can also repurpose elements from year to year, thus reducing waste and environmental impact.
How can I keep my candy ornaments from melting or getting sticky?
Avoid placing candy ornaments in high-temperature areas or in direct sunlight. Choosing decorations with non-edible candy replicas made from materials like clay or paper can also mitigate this issue.