Creating personalized DIY Easter cards offers a delightful way to combine creativity with the joy of giving during this festive season. Handmade cards not only express genuine emotions but also reflect the warmth and thoughtfulness behind each gesture. This guide will explore the importance of personalization, essential materials, and provide step-by-step instructions to craft unique designs. Discover how to incorporate personalized touches, learn advanced techniques, and draw inspiration from professional crafters. As you navigate through potential challenges, this article promises to transform the art of card-making into a fulfilling experience, encouraging you to produce stunning Easter cards.
Key Takeaways
- Creating personalized DIY Easter cards enhances the emotional significance of the holiday by adding a unique touch to your greetings.
- Selecting the right materials, such as quality paper and decorative items, is crucial for crafting beautiful and durable Easter cards.
- Step-by-step guidance ensures even beginners can successfully create basic DIY Easter cards with ease.
- Personalizing cards with names, significant dates, or meaningful quotes elevates their uniqueness and personal value.
- Advanced crafting techniques offer seasoned hobbyists the opportunity to explore and create sophisticated Easter card designs.
The Importance of Personalizing Easter Cards

Creating personalized Easter cards holds a unique and profound importance, transforming an ordinary holiday gesture into a memorable and heartfelt experience. Personalizing these cards allows the sender to convey sincerity and thoughtfulness, which resonates deeply with recipients. A personalized card often reflects the relationship’s depth and special bonds, making the gesture more than just a seasonal greeting.
One of the key benefits of personalizing Easter cards is the emotional significance it adds. A card tailored with specific messages, names, or personal anecdotes can evoke fond memories and reinforce connections. Unlike generic store-bought cards, a personalized card can include inside jokes, shared experiences, or heartfelt wishes that are unique to the relationship, making the recipient feel truly appreciated and valued.
Moreover, personalization offers the chance to showcase creativity and individuality. Designing a card that aligns with the recipient’s tastes and interests, such as their favorite colors or motifs, demonstrates thoughtfulness and effort. This aspect of personalization goes beyond aesthetics; it communicates a message that the card was crafted with care and attention to detail.
Lastly, personalized cards have a lasting impact. Recipients are more likely to hold onto a card that reflects personal stories or shared experiences, serving as a cherished keepsake over time. In an era where digital communication prevails, receiving a tangible, personalized Easter card can evoke a deep sense of nostalgia and offer a warm reminder of the sender’s love and appreciation.
Gathering Essential Materials
When embarking on the delightful journey of creating personalized DIY Easter cards, gathering the right materials is crucial to ensure a smooth crafting process. Here is a list of essential materials that will aid in bringing your creative vision to life:
-
Quality Paper: Start with a selection of high-quality cardstock or textured paper, which forms the foundation of your card. Choose colors that reflect the Easter spirit, such as pastel greens, pinks, and yellows.
-
Cutting Tools: A sharp pair of scissors or a craft knife is essential for cutting paper into desired shapes and sizes. Consider investing in a paper trimmer for precise cuts.
-
Adhesives: Stock up on glue sticks, double-sided tape, and adhesive dots. These will help securely attach decorations without creating a mess.
-
Writing Instruments: Use a variety of gel pens, markers, and colored pencils to add vibrant details and personalized messages. Opt for colors that complement your card’s design theme.
-
Decorative Elements: Enhance your cards with stickers, embellishments, and stamps that resonate with Easter motifs like bunnies, eggs, and flowers. Incorporate sequins or ribbons for added flair.
-
Crafting Mats and Rulers: Employ a crafting mat to protect surfaces and a ruler for achieving straight lines and accurate measurements.
By ensuring you have these essential materials on hand, you lay a solid foundation to craft unique and heartfelt Easter cards that embody the spirit of the season. Thoughtful preparation paves the way for creativity, allowing your personalized creations to resonate with warmth and sincerity.
Choosing the Right Design
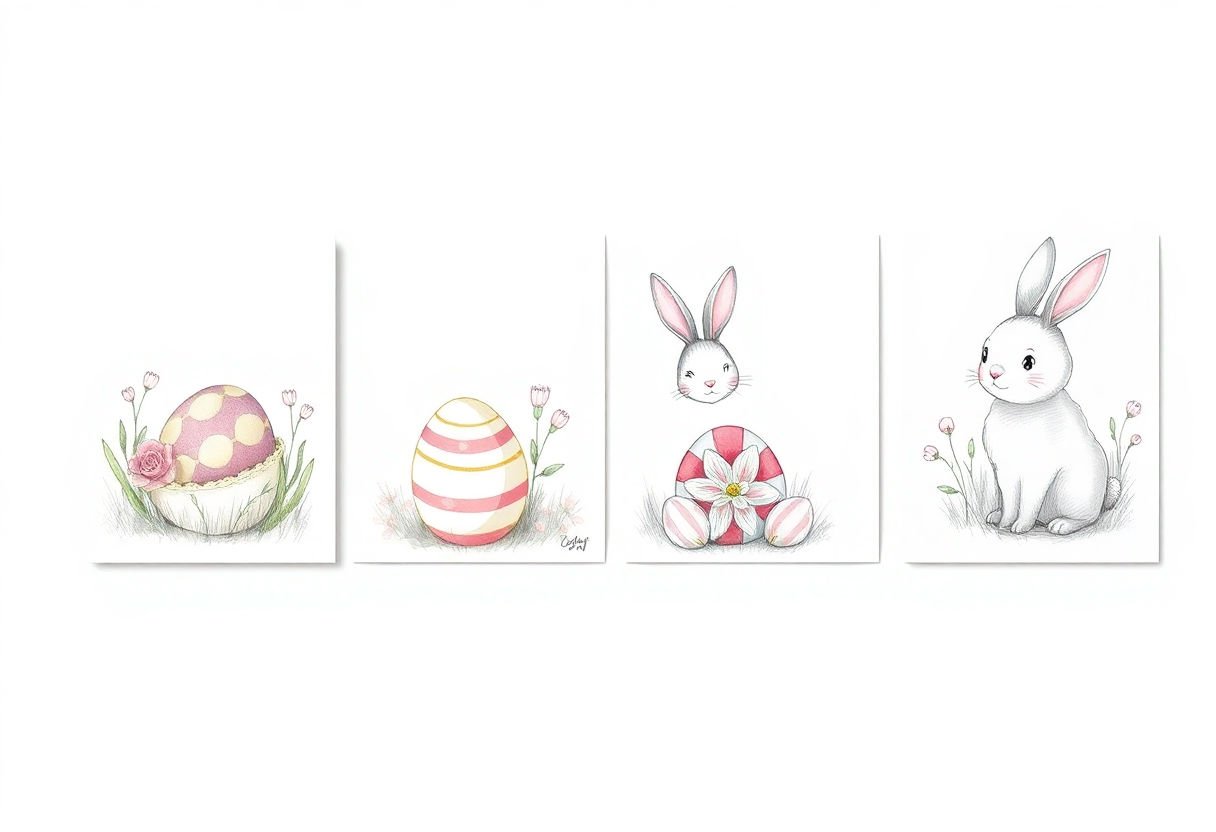
Selecting the appropriate design for your DIY Easter card is a delightful journey that merges creativity with emotional resonance. Consider the recipient’s tastes and the message you wish to convey. Are you aiming for something traditional, whimsical, or modern? Incorporating elements such as Easter eggs, bunnies, floral motifs, or religious symbols can reflect the essence of Easter, enhancing the card’s thematic appeal.
To create a card that stands out, consider these tips:
-
Know Your Recipient’s Preferences: Whether designing for a child or an adult, ensure the aesthetics align with what they appreciate. Think about colors they favor or themes that resonate with them.
-
Balance Simplicity and Detail: A well-chosen design doesn’t have to be overly complicated. Sometimes, simplicity offers a more profound elegance that appeals to varied tastes. Consider a minimalist approach or a detailed, layered composition based on what you feel suits best.
-
Incorporate Seasonal Colors: Pastel shades, such as light blues, pinks, and yellows, capture the spirit of spring and renewal. These colors are not only festive but also universally pleasing, making them ideal for Easter designs.
-
Symbolism and Imagery: Utilize symbols deeply rooted in Easter traditions. An artfully drawn cross or a quaint hatching chick can offer more than just a visual treat—they carry meanings that evoke the season’s spirit.
In choosing your design, remember that the goal is to craft a piece that is as thoughtful and unique as the person receiving it. Be inspired by the themes and colors of the season to create cards that convey heartfelt emotions and cheerful celebration.
Step-by-Step Instructions
To create a stunning DIY Easter card, follow these simple and structured instructions designed to inspire both novice and seasoned crafters.
-
Prepare Your Workspace: Start by organizing your crafting space. Ensure you have all your supplies within reach, including cardstock, decorative papers, scissors, adhesive, and writing tools.
-
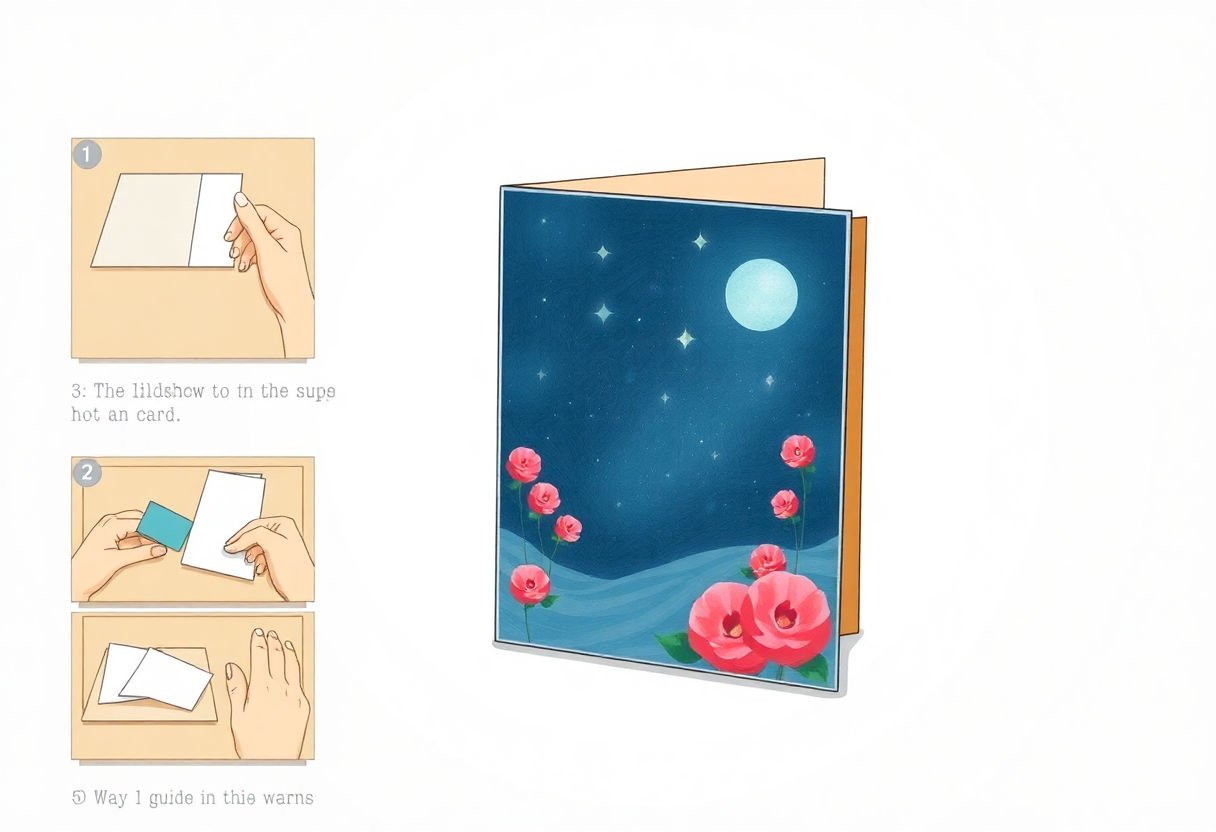
Select Your Card Base: Choose a piece of cardstock as your base. A standard size is 5×7 inches when folded. Opt for pastel colors like soft pinks or light blues to echo the Easter theme.
-
Fold the Card: Carefully fold your cardstock in half. Use a bone folder or the edge of a ruler to create a crisp fold.
-
Design the Front Cover:
- Cut a Decorative Paper Layer: Cut a contrasting piece of decorative paper slightly smaller than the card front.
- Attach with Adhesive: Secure the layer to the card front with double-sided tape or glue.
- Embellish: Add embellishments such as die-cut shapes, ribbons, or buttons. For example, affix a felt bunny or a paper egg to embody the spirit of Easter.
-
Craft the Interior Message:
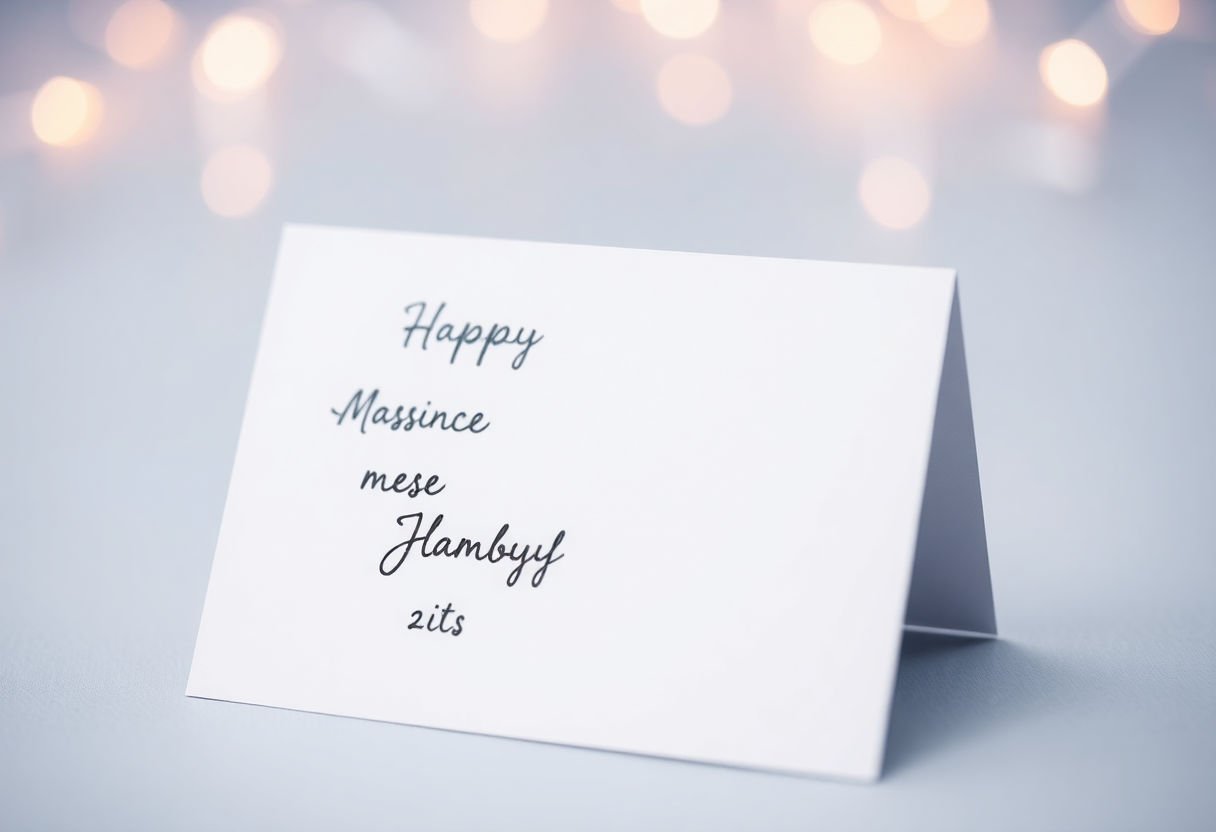
- Handwrite a Thoughtful Message: Use a gel pen or calligraphy marker to write a heartfelt note.
- Add a Quote: Consider including an Easter-themed quote for an added touch of warmth.
-
Finalize with Personalization: Inscribe the recipient’s name on the front or inside using a stylish font or handwritten script. Personal touches make the card truly unique and cherished.
By following these clear steps, you can create a beautiful and personalized Easter card that will bring joy and appreciation to its recipient.
Adding Personalized Touches
Personalizing your Easter cards can transform them from simple greetings to cherished mementos. By incorporating unique elements, you not only add sentimental value but also create a card that truly resonates with the recipient.
Begin by adding names and dates to your cards. This simple addition can make the card feel bespoke and thoughtful. Consider using calligraphy or decorative fonts that complement the rest of your card’s design. Personal inscriptions like “Happy Easter, Grandma Mary 2023” can be both beautiful and memorable.
Memorable quotes or meaningful sayings can also enhance your card’s impact. Consider quotes that are significant to your relationship with the recipient or ones that capture the spirit of Easter. Quotes such as “Easter is the only time of year when it is safe to put all your eggs in one basket” can bring a smile to the reader.
Incorporating personal photos offers an intimate touch. A photo of a cherished moment shared with the recipient can make your card stand out. Use high-quality prints and secure them with decorative washi tape or photo corners for an elegant finish.
Consider also adding art or drawings that reflect the recipient’s personality or interests. Whether it’s a minimalist sketch or a vibrant drawing, personalized art can make your card feel exceptionally tailored.
Lastly, using customized embellishments like stickers or stamps that symbolize personal jokes or interests can add an extra layer of connection, making your Easter card a keepsake to treasure for years.
Advanced Techniques for Seasoned Crafters
For seasoned crafters ready to push the boundaries of traditional card-making, advanced techniques can offer a rewarding challenge and elevate cards to the level of fine art. One such method is quilling, which involves rolling and shaping strips of paper to create intricate designs. This technique allows for stunning three-dimensional effects, adding a tactile element to Easter cards that will delight recipients.
Another sophisticated method is embossing, where a raised design is created on the card’s surface. Using embossing powder and a heat tool, crafters can add textures, patterns, or even personalized messages. Metallic and pearl embossing powders work exceptionally well for adding a touch of elegance to Easter themes.
Incorporating watercolor techniques can transform a simple card design into a work of art. By blending various watercolor hues, crafters can paint delicate floral arrangements or abstract Easter eggs, offering a soft and exquisite background. Using watercolor paper ensures that colors blend beautifully without warping the card.
For those with a flair for technology, digital crafting tools like cutting machines can be utilized to create intricate cuts and precise designs. These machines allow for complex shapes and patterns that can be layered for a multidimensional effect, perfect for featuring elements like bunnies or spring blossoms.
Lastly, mixed media approaches provide limitless possibilities, combining elements such as fabric, lace, and beads for a rich textural experience. This technique encourages crafters to experiment, blending traditional and novel materials to create truly unique Easter cards. Each of these advanced techniques can breathe new life into DIY projects, turning Easter greetings into treasured keepsakes.
Inspiration from Professional Crafters
In the realm of creating distinctive DIY Easter cards, drawing inspiration from professional crafters can be incredibly beneficial. These experts bring a wealth of creativity and expertise that can elevate your own card-making endeavors.
Professional crafters often experiment with a variety of materials and techniques to produce their standout card designs. For instance, some utilize embossing to add a tactile dimension to their cards, providing a luxurious feel that can make your Easter greetings memorable. Others advocate for the use of die-cutting tools, which offer precision in crafting intricate patterns and shapes that are difficult to achieve manually.
Moreover, professional crafters frequently explore different themes and styles, seamlessly incorporating elements such as florals, springtime motifs, and vibrant color palettes that epitomize the Easter spirit. By exploring their creations, you can gather unique ideas, such as using layered paper techniques to create a 3D effect or experimenting with watercolor washes for a more artistic touch.
In terms of presentation, crafting experts pay meticulous attention to detail, ensuring each element, from fonts to color schemes, works harmoniously together. One seasoned crafter might suggest, “A cohesive color palette not only enhances your design but also connects emotionally with the recipient.”
Finally, don’t hesitate to adopt the habit of exploring crafting blogs and forums where professionals share their latest creations and insights. Such platforms are treasure troves of inspiration that can guide you toward crafting exceptional, one-of-a-kind Easter cards. Embrace the opportunity to learn from the best and infuse your projects with their innovative ideas.
Challenges and How to Overcome Them
Crafting personalized DIY Easter cards presents a unique set of challenges that can hinder even the most enthusiastic creators. However, with preparation and the right strategies, these obstacles can be transformed into opportunities for creativity and learning.
One common challenge is a lack of inspiration or creative block. To overcome this, immerse yourself in various sources of creativity. Explore online platforms or crafting magazines, and draw inspiration from elements in nature and festive decor. Keeping a notebook with sketches and ideas can facilitate the creative process whenever inspiration strikes.
Another prevalent issue is the constraint of time and resources. To manage this, plan your card-making in advance. Allocate specific time slots for different crafting stages, from brainstorming to execution. Organizing materials beforehand ensures that you are equipped with everything from paper and pens to decorative embellishments, reducing last-minute scrambles.
Technical difficulties such as complex designs or intricate techniques can also pose a dilemma. If faced with a challenging design, break down the process into smaller, manageable steps. Watching tutorial videos or attending a local crafting workshop can offer hands-on experience and a clearer understanding of advanced techniques.
Finally, achieving perfectionism can hamper progress, leading to frustration. Embrace the philosophy that handmade cards are cherished for their individuality and unique imperfections. Aim for passionate creation rather than flawlessness. Remember, the recipient will appreciate the heartfelt effort and time invested in creating each card.
By addressing these challenges with strategic planning and an open mindset, the process of crafting DIY Easter cards can be both gratifying and creatively fulfilling.
Conclusion
Creating personalized DIY Easter cards not only fosters creativity but also strengthens emotional connections, reflecting the heartfelt significance of this cherished holiday. By combining thoughtful design with personalized touches, you produce a keepsake that resonates deeply with recipients. As these crafting skills develop, the potential for more complex and unique creations expands, inviting endless possibilities each Easter. Embracing DIY projects encourages resourcefulness and environmental sustainability, as homemade cards often utilize reusable materials. Ultimately, engaging in this fulfilling activity serves as a reminder of the joy and satisfaction found in crafting something meaningful from the heart.
Frequently Asked Questions
How can I ensure my DIY Easter cards look professional and neat?
To achieve a professional and neat appearance, use high-quality materials such as thick cardstock and precision tools like craft knives or scissors. Maintaining clean lines and symmetrical designs also contributes to a refined finish.
What are some unique ideas for personalizing my Easter cards?
Consider adding personal elements like custom messages, hand-drawn illustrations, or inserting small photos. Including details such as the recipient’s favorite colors or incorporating their name adds a unique touch.
Can I create an impressive Easter card without advanced crafting skills?
Yes, even beginners can craft stunning cards by following step-by-step instructions and using simple techniques like layering paper or adding stickers. Choosing straightforward designs can help you achieve beautiful results with ease.
What types of materials should I avoid when making DIY Easter cards?
Avoid using materials that might easily tear or bleed, such as lightweight papers and low-quality markers. It’s also best to steer clear of adhesives that might warp the card, like overly wet glues.
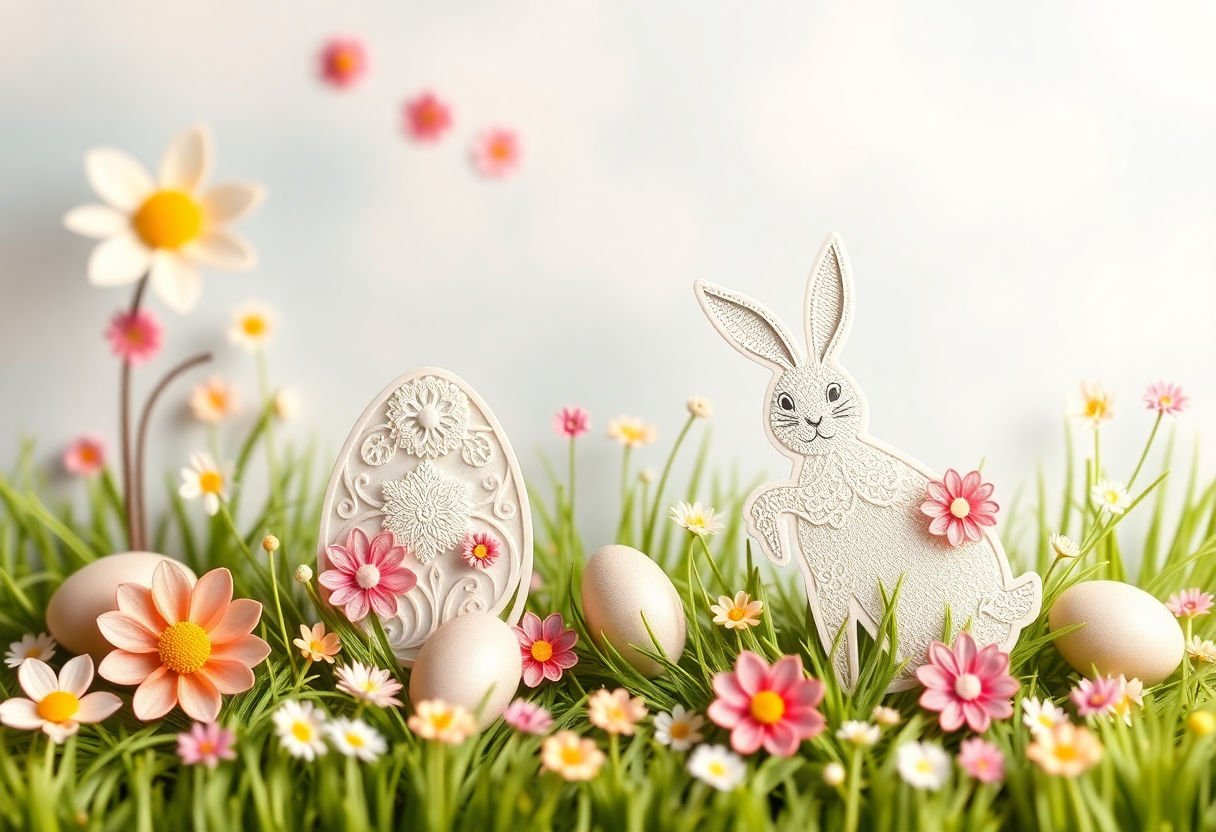
How can I find inspiration for my DIY Easter card designs?
Inspiration can be drawn from seasonal motifs like bunnies, eggs, and flowers. Browsing online crafting forums, visiting stationery stores, or consulting crafting books can provide fresh and creative ideas.