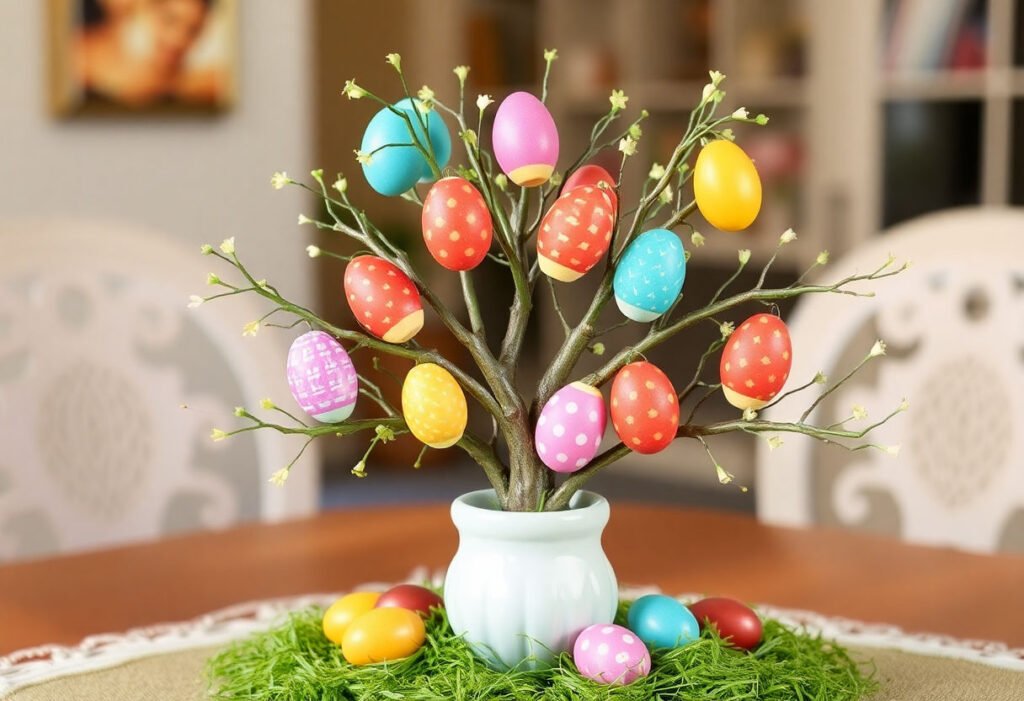
Transform your Easter celebrations by creating a stunning DIY Easter egg tree that combines creativity with tradition. This article explores the enchanting history of Easter egg trees and provides a comprehensive guide on the essential materials and creative decorating techniques needed to craft your masterpiece. Dive into the meticulous art of egg preparation and discover how to assemble a branch structure that complements your artistic vision. With instructions on hanging and arranging your eggs beautifully, plus tips for adding the perfect finishing touches, you’re bound to captivate your guests with a unique display of festive artistry. Continue reading for inspiration and detailed guidance.
Key Takeaways
- Creating a DIY Easter egg tree offers a unique way to personalize your holiday decor and impress guests with your creativity.
- Essential materials include eggs, tree branches, craft supplies, and paint, which are all accessible and easy to source.
- The project involves engaging steps like prepping eggs, decorating with creative techniques, and assembling a branch structure, fostering a fun DIY experience.
- Adding final touches such as ribbons and lights enhances the visual appeal and personalizes the Easter egg tree to match your decor style.
- Displaying your handcrafted Easter egg tree in your home elevates your holiday ambiance by integrating a charming and custom-made centerpiece.
The History of Easter Egg Trees
Easter egg trees, steeped in centuries-old traditions, trace their roots back to various European customs. Often associated with the celebration of spring and rebirth, the practice of decorating trees with eggs is believed to symbolize new life and renewal—a theme central to Easter festivities. In particular, the custom finds its origins in Germany, where Osterbaum (Easter trees) were adorned with colorful eggs to herald the arrival of spring.
Egg trees originated in Germany: The tradition was initially observed in Thuringia, a central German region known for its vibrant crafts and customs. Families would gather to decorate living trees or branches with brightly colored eggshells, turning their outdoor spaces into stunning displays of color and creativity. This tradition was not only a celebration of Easter but also an expression of artistic skill and community.
Over time, this enchanting practice spread beyond Europe, taking root in the United States as German immigrants shared their cultural heritage. Today, Easter egg trees are embraced worldwide as a delightful way to add a festive flair to seasonal décor. Modern adaptations have seen a transformation of this craft from outdoor trees to indoor displays, using both real and artificial branches.
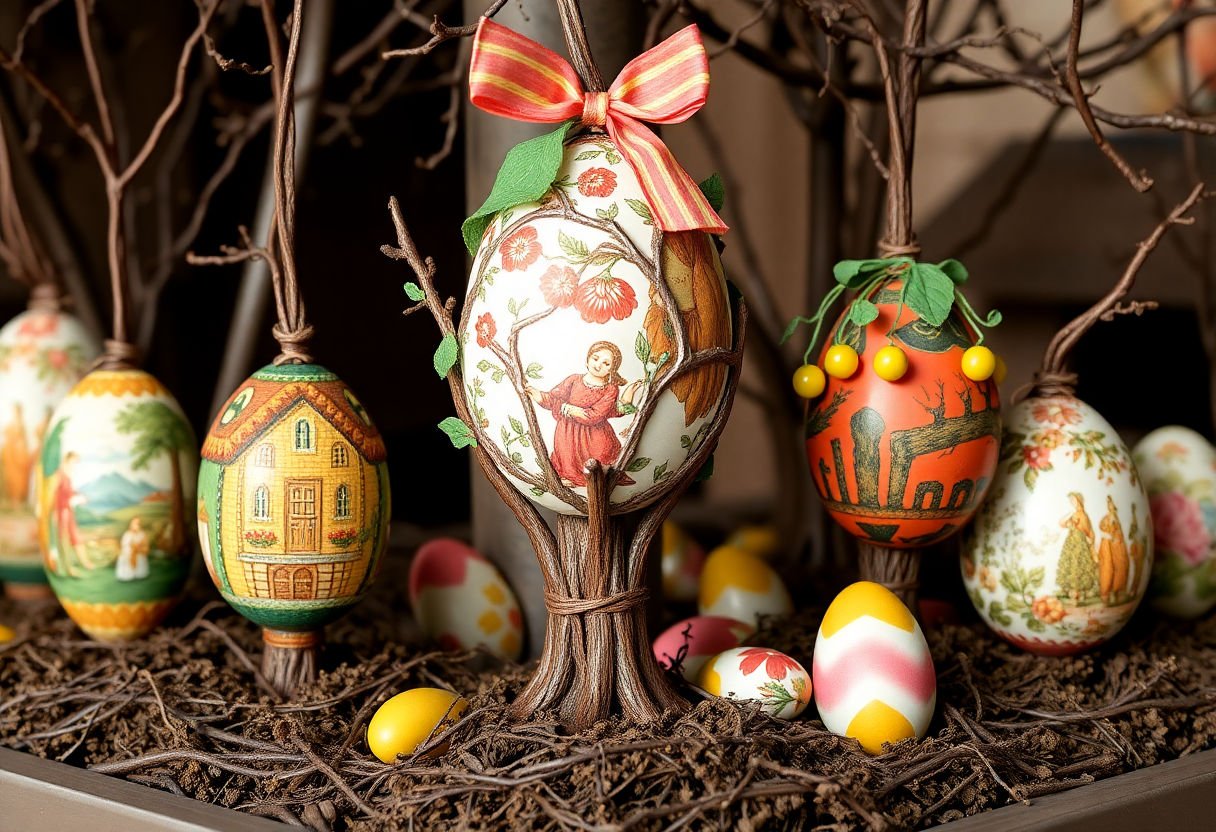
Easter egg trees have evolved to incorporate a wide range of artistic expressions, from intricate hand-painted designs to glittering metallic finishes, reflecting personal creativity and cultural diversity. Whether displayed indoors or out, these trees remain a cherished emblem of Easter celebrations, continuing to captivate with their rich history and beauty.
Essential Materials for Your Easter Egg Tree
To create a charming Easter egg tree, gathering the right materials is crucial. Begin with the essentials: eggs. Opt for either real eggs or durable plastic ones, depending on your preference for a lasting display. If you choose real eggs, ensure they are properly hollowed and cleaned to avoid any unpleasant odors or damage over time.
Next, select tree branches for your tree’s structure. Birch or willow branches are popular choices due to their flexibility and natural aesthetic. Ensure the branches are sturdy enough to support your decorated eggs.
Paints and dyes are vital for bringing your vision to life. Choose an array of pastel and vibrant colors to craft visually appealing eggs. Acrylic paints are ideal for their bright finish and durability, while food-safe dyes can be used if you are working with real eggs.
For added creativity, consider glitter, sequins, and embellishments. These can be used to add sparkle and texture to your eggs, enhancing their decorative appeal. Brushes of various sizes will be needed for detailed painting work.
You will also need string or ribbon to hang the eggs. Choose strong, yet delicate materials to complement the overall look of your tree. Ensure the lengths are consistent to maintain a balanced display.
Hot glue guns and scissors are essential tools for assembling and decorating. They allow for precise attachment of additional decorations and securing eggs firmly in place on the branches.
By gathering these materials, you will be well-prepared to craft a stunning Easter egg tree that captures the joy and color of the season.
Preparing Your Eggs for Decoration
Before you can embark on the creative journey of decorating your Easter eggs, it is essential to prepare them properly. This foundational step ensures that the eggs are not only visually stunning but also durable for display. Here’s how to get started:
Cleaning Your Eggs
Begin by selecting fresh eggs with smooth shells. It’s critical to clean them thoroughly, removing any dirt or residue that might hinder dyeing and decoration. Use a mild soap and lukewarm water, gently scrubbing the eggs with a soft brush. Rinse them well and pat dry with a clean cloth.
Blowing Out the Eggs
To create a lightweight decoration, you’ll need to empty the eggs without cracking them. Carefully pierce a small hole at both the top and bottom of the egg using a needle. Gently blow through one hole into a bowl until all the contents are removed. Rinse the interior with water to ensure they are clean and odor-free. Allow them to dry completely before proceeding.
Dyeing the Eggs
Dyeing provides a vibrant base for further decoration. Prepare a dye bath using water, vinegar, and food coloring. Immerse the eggs in the dye using a spoon, ensuring an even coat. Experiment with soaking times to achieve your desired color intensity, but typically, three to five minutes will suffice. Once dyed, set them aside on a drying rack.
This meticulous preparation process sets the stage for your creative expression. By treating your eggs with care and attention at these early stages, you lay a robust foundation for the embellishments to follow, ensuring each egg proudly stands as a testament to your artistic flair.
Creative Painting and Decorating Techniques
Explore a myriad of innovative painting and decorating techniques to ensure each egg on your Easter egg tree is a one-of-a-kind masterpiece. Embrace creativity and let your artistic instincts lead the way.
Watercolor Wonders: Achieve a soft, ethereal appearance by using watercolor paints. This technique allows colors to gently blend, creating an array of stunning visual effects. Simply dilute the paint with water and apply it over the surface of the egg, allowing it to air dry for a unique finish.
Marble Magic: Add a touch of elegance with the marble-effect technique. Mix a few hues of nail polish in a bowl of water. Swirl the colors lightly, then gently dip the egg into the water. The marbled pattern will cling to the shell, creating an exquisite, high-end look.
Decoupage Delight: Incorporate intricate designs by using the decoupage method. Select decorative paper or napkins with seasonal motifs, cut them into desired shapes, and adhere them to the egg using a water-based adhesive. This technique enables the integration of various textures and patterns.
Metallic Masterpieces: For a modern twist, utilize metallic paints or foil to make your eggs shimmer and shine. Create an opulent look by applying gold, silver, or copper accents strategically across the egg’s surface.
Stencil Styling: Use stencils for those seeking precise patterns or images. Position the stencil firmly on the egg, apply paint using a sponge, and remove to reveal a crisp design. This method ensures a polished and tailored look.
Engaging with these diverse techniques will not only enhance the visual appeal of your Easter egg tree but also provide a delightful artistic experience.
Assembling the Branch Structure
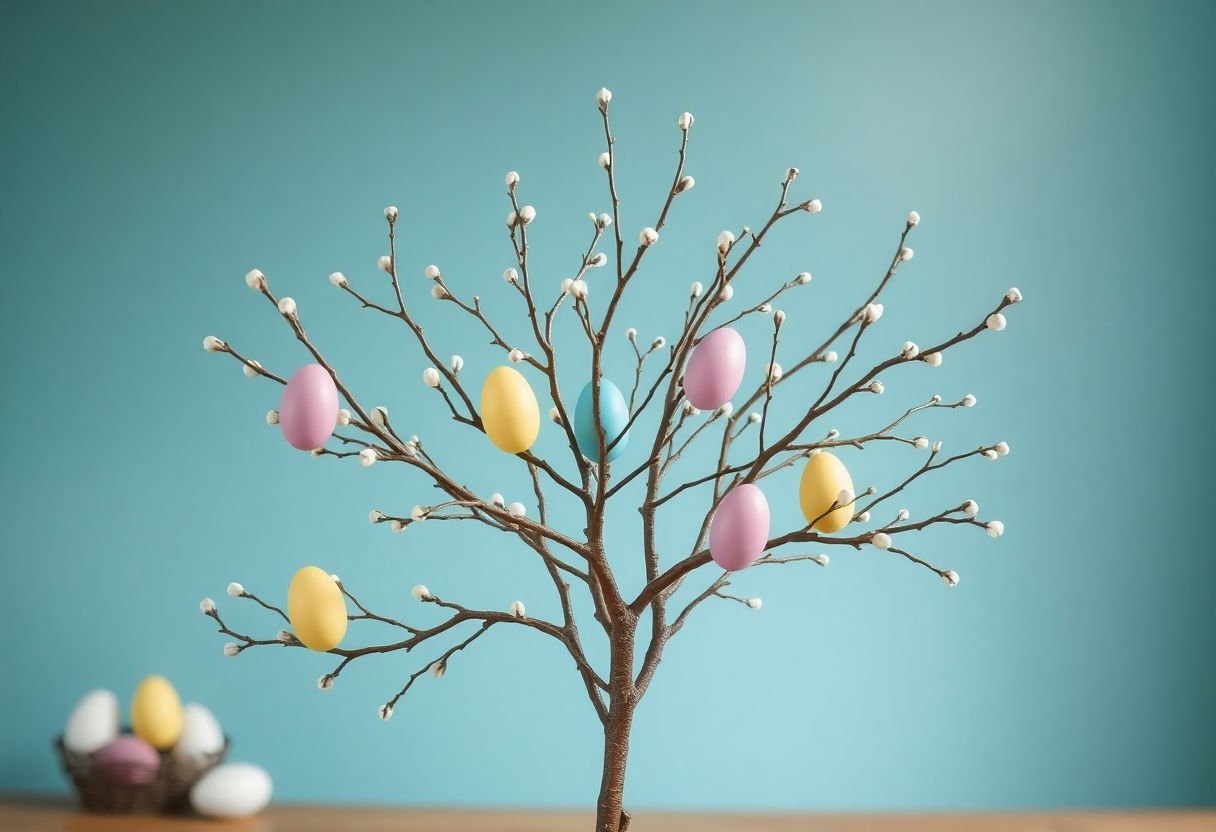
To craft a stunning base for your DIY Easter egg tree, begin by selecting the right branches. Opt for sturdy, well-balanced branches that have a natural elegance. Ideally, choose branches with multiple offshoots to provide ample hanging space for your decorated eggs. Birch, cherry, or dogwood branches are exceptional choices due to their pleasant appearance and strength.
Once you have your branches ready, it’s time to arrange them. Create a mix of lengths and thicknesses to emulate a genuine tree structure. This variance adds visual interest and ensures each unique egg has its own space to shine. Symmetry and proportion play critical roles in achieving a pleasing aesthetic, so take time to experiment with different branch arrangements until you achieve a harmonious look.
To assemble your branch structure securely, you will need a stable base. Consider using a pot filled with plaster or floral foam to anchor the branches. If using a vase, ensure it is wide enough to support the weight of the branches and eggs and heavy enough to prevent tipping over. Secure the branches well, checking for stability as you adjust their placement.
For added beauty, you might wish to paint the branches in a complementary or contrasting color to your eggs. White, pastel shades, or metallic tints can add a touch of sophistication and highlight the vibrant decorations on the eggs. By following these guidelines, your Easter egg tree will serve as a captivating centerpiece, celebrating the season’s spirit.
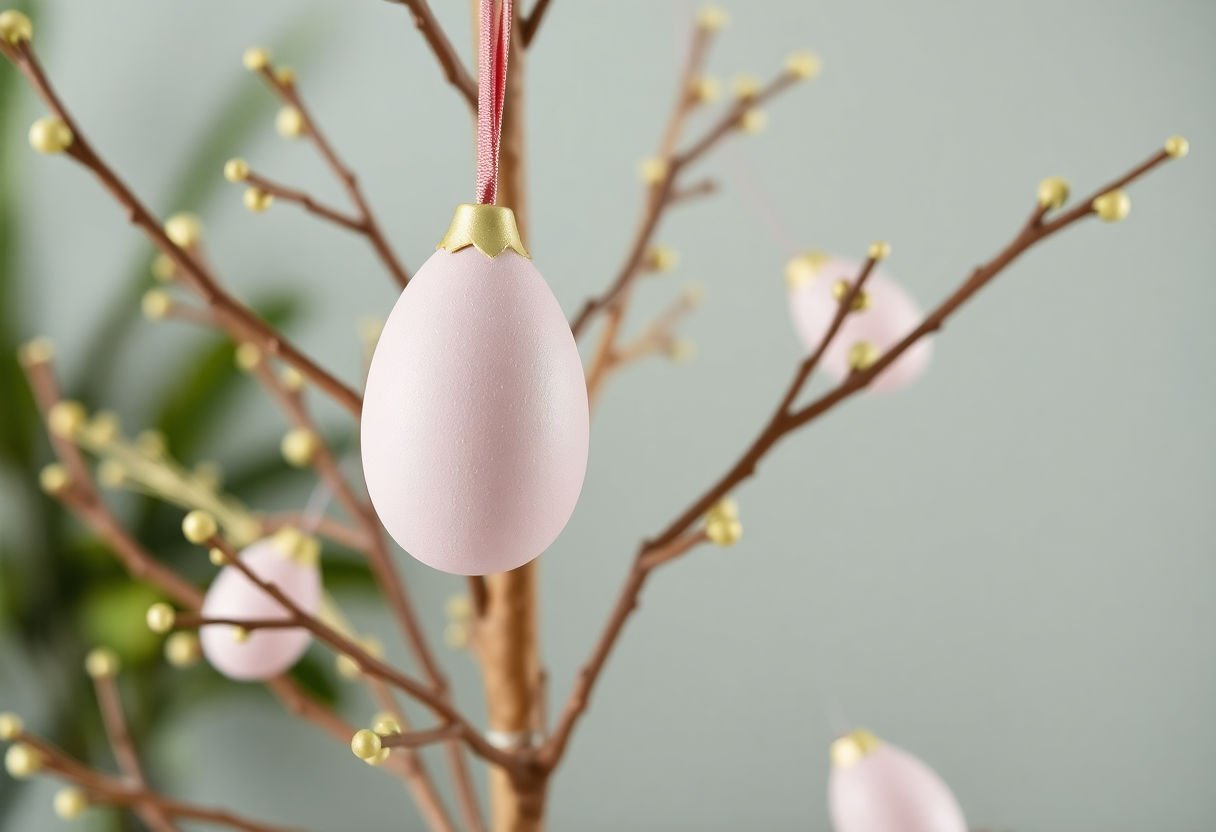
Hanging and Arranging Your Easter Eggs
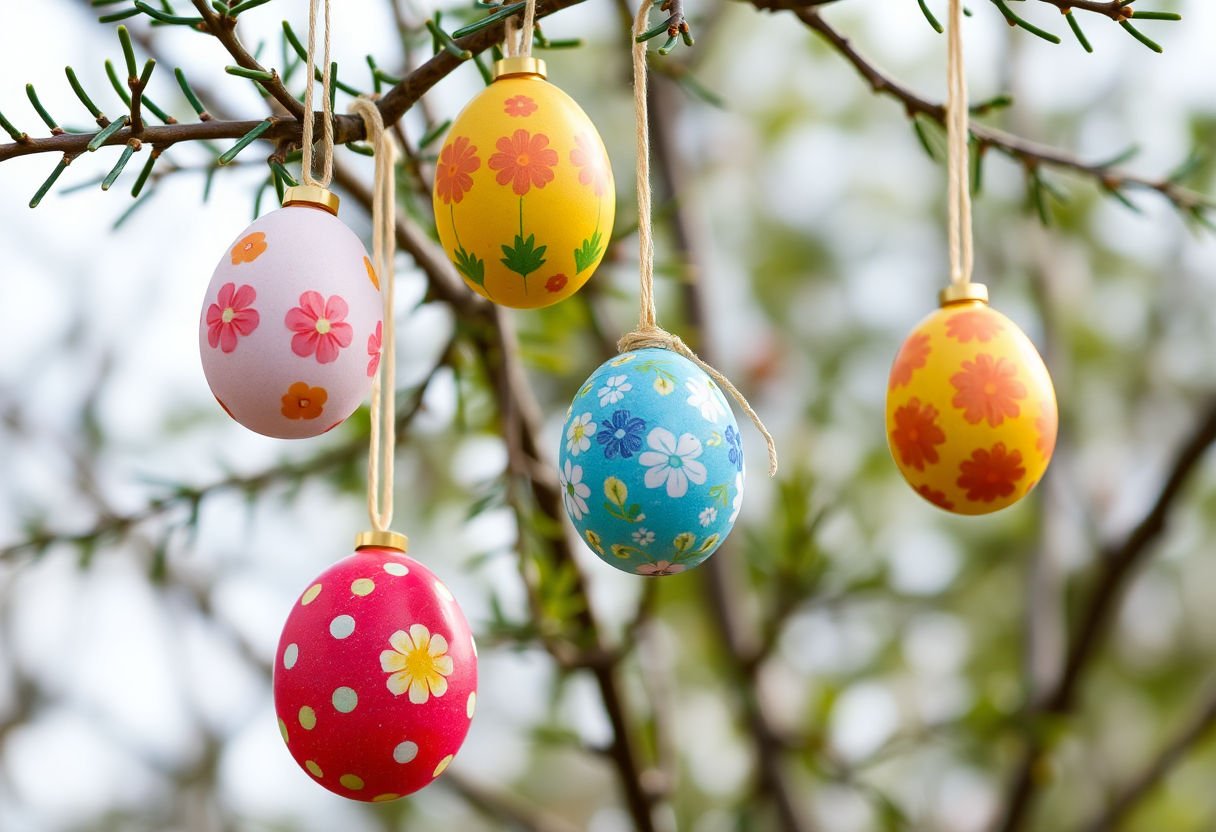
To hang and arrange your Easter eggs beautifully, start by selecting strong, sturdy branches that can support the weight of your decorated eggs. Ensure that your branch structure is stable and well-balanced. Next, gather a selection of elegant ribbons or durable fishing line to use as hangers for each egg. Ribbon adds a lovely decorative touch, while fishing line creates a magical floating effect.
Steps to Hang Your Easter Eggs:
- Cut the ribbons or lines to your desired length. Consider varying the lengths for a dynamic look.
- Gently tie each ribbon or line through the hole of the egg, ensuring it is securely fastened. For additional security, apply a tiny drop of glue where the ribbon meets the egg.
- Find the optimal spot on the branch to hang each egg for a visually balanced arrangement. Remember to space your eggs evenly and consider color contrasts for added appeal.
When arranging the eggs, consider the overall aesthetic and balance of your tree. Grouping by color or decorating style can create a pleasing visual gradient. Additionally, think about the surrounding space. Well-thought-out placement can highlight individual egg designs and prevent overcrowding.
Finally, take a step back and assess your arrangement. Adjust any eggs that seem out of place or imbalance the structure. This attention to detail will ensure your Easter egg tree is both stunning and cohesive, capturing the essence of spring and Easter with elegance and charm.
Adding Final Touches
Transforming your Easter egg tree into a delightful centerpiece involves adding those special final touches that elevate its charm. Begin by incorporating ribbons into your design. Choose pastel colors or vibrant hues depending on the aesthetic you aim to achieve. Weave the ribbons delicately around the branches to add an element of movement and grace.
Another enhancement is the use of string lights. Opt for subtle, warm white lights to ensure they complement rather than overpower your decorations. These lights, wrapped around the base or interspersed among branches, provide an enchanting glow that captures the spirit of Easter evenings.
Additionally, consider adding small ornaments that reflect Easter themes, such as miniature bunnies, chicks, or floral motifs. These can be strategically placed near the base of the tree or hanging alongside your decorated eggs. For those who enjoy a touch of nature, attaching small sprigs of fresh greenery or spring flowers can inject life and fragrance into your display, further connecting it to the seasonal celebrations.
Finally, a thoughtful base for your tree fortifies its visual appeal. Consider placing your tree in an elegant pot or vase, perhaps one adorned with Easter motifs or springtime patterns. You might even add a layer of decorative moss or grass around the base to suggest a natural setting.
By focusing on these final embellishments, you not only complete your Easter egg tree but transform it into a stunning focal point that celebrates creativity and tradition alike.
Displaying Your Easter Egg Tree
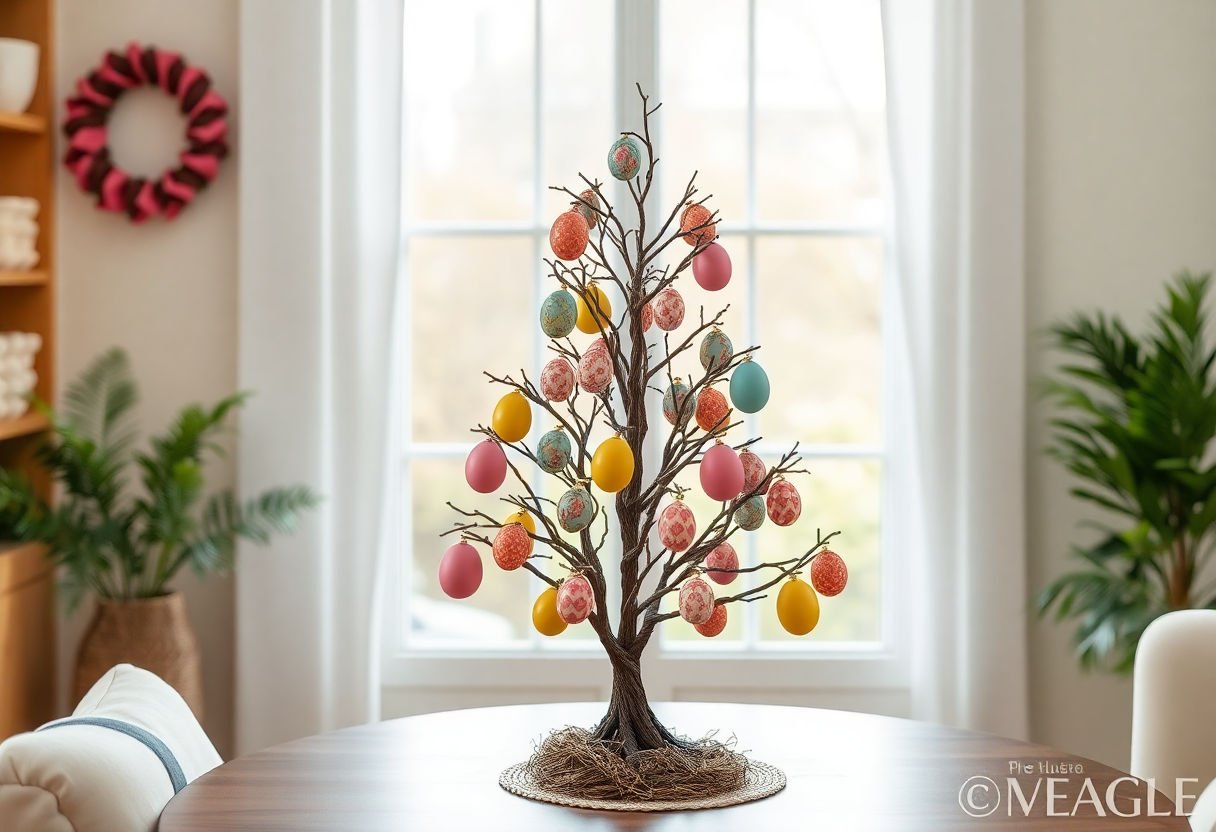
Once your Easter egg tree is complete, choosing the ideal location for its display will enhance both its beauty and your home’s festive ambiance. Begin by considering areas with high visibility and natural light to accentuate the intricate designs of your decorated eggs. A prominent place, such as in your living room, near a window or entryway, is often ideal. Integrating your Easter egg tree into your existing décor can transform a space, making it a focal point of seasonal celebration.
When selecting a spot, ensure it complements your interior style. For a minimalist space, a simple, elegant tree can act as a subtle yet sophisticated accent. In homes with a more vibrant aesthetic, a colorful and eclectically decorated egg tree can emphasize the joyous spirit of the holiday. Additionally, ensure the base of your tree is stable and well-balanced, preventing any accidents that could damage your delicate creations.
To enhance your display further, consider adding a decorative table covering or a soft fabric base beneath the tree. This not only adds depth and draws attention to the tree but also protects surfaces from scratches. Additionally, if desired, integrate subtle lighting to highlight the details of your eggs, particularly during evening gatherings.
By thoughtfully displaying your Easter egg tree, you showcase your creativity and the charm of this delightful springtime tradition, making it a cherished centerpiece for home and guests alike.
Conclusion
Creating your own stunning DIY Easter egg tree is a rewarding endeavor that blends tradition with creativity. By meticulously following each step—from preparing your eggs to artistically arranging them on a carefully assembled branch structure—you craft a unique centerpiece that resonates with cultural heritage and personal flair. As you display your finished masterpiece, consider its potential as a conversation starter and a cherished symbol of celebration. Embrace the opportunity to express your creativity each Easter, contributing to a tradition that is as meaningful as it is beautiful.
Frequently Asked Questions
How do I keep the eggs from falling or breaking when they are hung on the tree?
To prevent eggs from falling, ensure that each egg is securely hung with ribbon or string and that the attachment point on the branch is stable. Use lightweight materials for better support, and avoid fragile decorations that may increase the risk of breakage.
What type of tree branches work best for an Easter egg tree?
Choose branches that are sturdy yet flexible to support the weight of the eggs and other ornaments. Willow and forsythia branches are popular choices because of their elegant structure and strength.
Can I use artificial eggs instead of real ones?
Yes, artificial eggs can be used as a durable and lightweight alternative to real eggs. They also offer more versatility in terms of decorating techniques and longevity, as they can be stored and reused in future years.
How long can I expect the tree to last once assembled?
The longevity of your Easter egg tree depends on the materials used and the environmental conditions. Fresh branches may last a couple of weeks indoors, but using artificial branches can extend its display duration significantly.
Are there any safety precautions I should consider?
When crafting your Easter egg tree, ensure that all decorating materials are non-toxic, especially if children are involved. Additionally, secure the base of the tree to prevent tipping and ensure that any electrical components, like lights, are safe for indoor use.