Crafting festive Christmas candy decorations is a delightful art that adds a sweet touch to your holiday ambiance. In this guide, you’ll embark on a creative journey to learn the techniques for making candy trees, garlands, and wreaths that enhance your festive settings. Discover the essential tips for selecting the best candies to ensure both durability and visual appeal. As you explore, you’ll find ways to infuse personal touches, preserve your creations, and keep safety in mind, especially important around children. Embrace the joy of DIY candy decorations and transform your holiday season into a sugary celebration.
Key Takeaways
- Learn to create visually stunning candy trees, garlands, and wreaths to enhance your holiday decor.
- Discover tips on selecting durable, aesthetically pleasing candies for long-lasting decorations.
- Gain insight into essential techniques for transforming candies into festive ornaments.
- Explore creative methods to personalize your candy decorations with unique touches.
- Understand best practices for storing and preserving your candy creations to extend their lifespan throughout the holiday season.
Choosing the Right Candy
Choosing the right candy is crucial for crafting durable and aesthetically pleasing Christmas decorations. When selecting candies, consider their structural integrity and visual appeal. Here are a few categories to guide your choices:
-
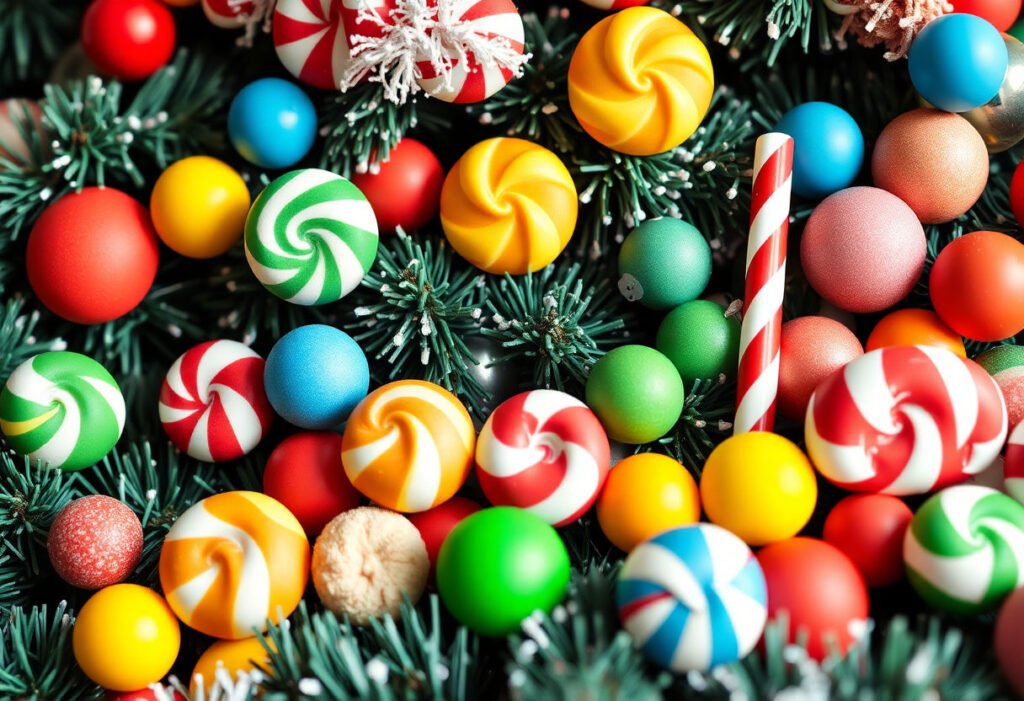
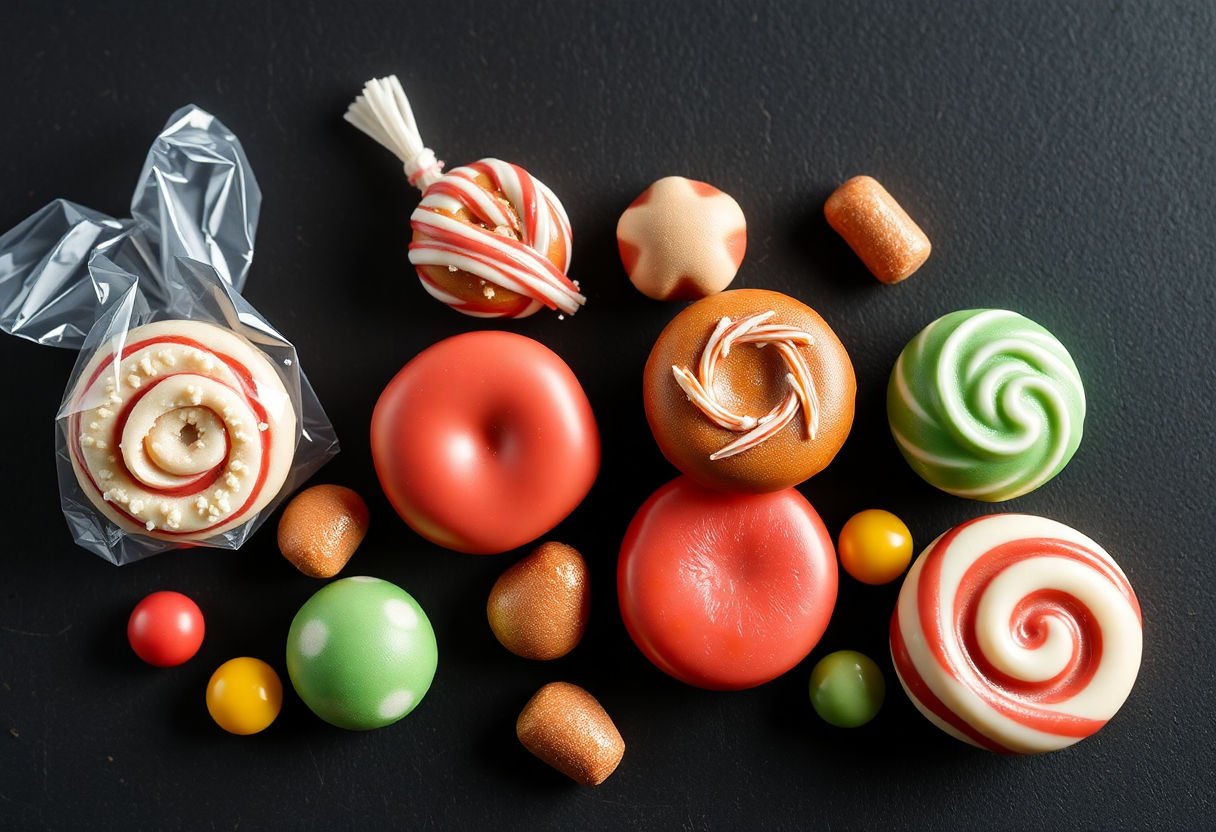
Hard Candies: These are ideal for decorations needing long-lasting durability. Classic options like peppermint swirls or candy canes are perfect for creating patterns or serving as focal points in structures such as candy Christmas trees and garlands. Their vibrant colors and robust textures make them a go-to choice for enduring displays.
-
Gumdrops and Jellies: These offer a softer texture and can be used to add vibrant colors and varying shapes to your decor. They are particularly useful for garlands and wreath decorations because they can be easily pierced and strung together without cracking or shattering.
-
Chocolate Candies: While chocolate adds richness and elegance, it is less durable and should be used sparingly. When incorporating chocolate, consider options with hard shells like M&Ms to minimize melting and preserve design integrity.
-
Licorice and Twists: These versatile candies can be molded and shaped to create intricate designs and structures. They are excellent for outlining shapes or adding three-dimensional elements to your decorations.
When selecting candies for Christmas decor, it is essential to balance aesthetic quality with practicality. Choose candies that not only complement the color scheme and theme of your holiday setup but also ensure that the decorations remain intact throughout the festive season. Consider the longevity of the candy, particularly if the decorations are displayed in warm environments, to prevent any potential melting or deterioration.
Basic Techniques for Candy Decorations
Candy decoration is an art that combines creativity with basic craftsmanship to transform sweets into festive displays. To master the essential techniques, follow these guidelines:
Planning and Design
Before starting, visualize the desired outcome of your candy decoration. Consider the balance between colors and shapes to ensure your design is aesthetically pleasing. Sketch a simple layout if necessary to guide your process.
Adhesion Techniques
To secure candies to various surfaces or to each other, use a food-safe adhesive such as royal icing or melted chocolate. These options provide not only strong adhesion but also blend well with the candy itself. Apply a thin layer, using a pastry bag or a small brush, to avoid excess.
Candy Arrangement
When arranging candies, symmetry can enhance visual appeal. For beginners, try alternating larger and smaller candies to create a balanced look, using similar hues to maintain a coherent color scheme. Be mindful of the candy’s weight; opt for lighter options to prevent sagging when hanging decorations.
Surface Preparation
The surface on which you will adhere candies should be clean and dry. Nonporous surfaces such as glass or plastic are ideal for ensuring sturdy adhesion. If utilizing porous surfaces like fabric or wood, consider applying a sealant to avoid absorption of any moisture from the adhesives.
Handling and Preservation
Work in a cool, dry environment to prevent the candies from melting or becoming sticky. Regularly wash your hands and tools to maintain cleanliness and prevent contamination. For displays meant to last the season, consider using a spray-on sealant to protect against humidity and pests.
By mastering these basic techniques, you’ll be well-equipped to create beautifully crafted candy decorations that will add a unique charm to your festive environment.
Creating Candy Christmas Trees
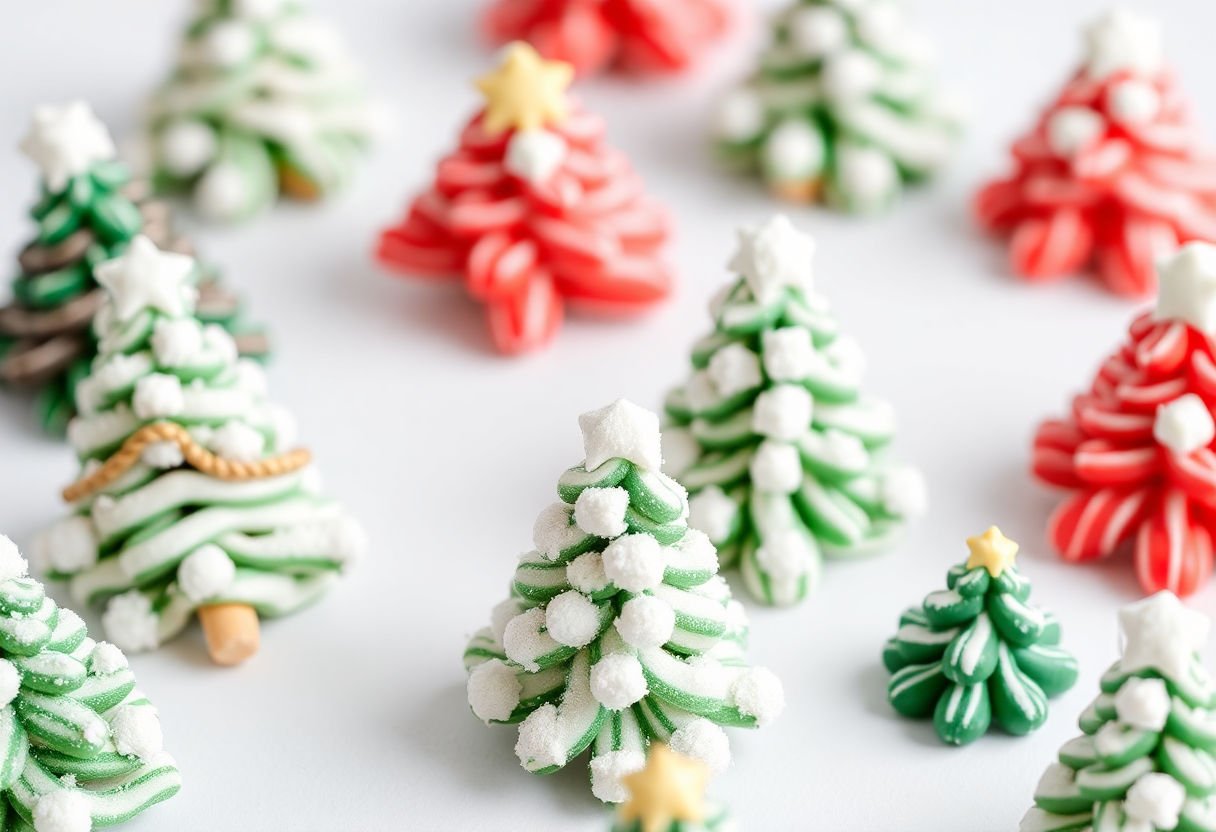
Crafting candy Christmas trees is a delightful way to infuse your holiday decor with both charm and sweetness. To begin, gather essential materials: a foam cone, decorative pins, and an assortment of candies such as gumdrops, peppermints, and candy canes. The foam cone acts as the tree’s base, providing a sturdy structure for your candies.
Step-by-Step Instructions:
-
Prepare the Base: Secure the foam cone on a stable surface to ensure it doesn’t tip over while decorating.
-
Select Your Candies: Choose candies in a variety of colors and shapes to create an eye-catching design. It’s beneficial to use a mix of small and large candies to add texture.
-
Attach the Candy: Using decorative pins, start affixing the candies to the foam cone. Begin from the bottom and work your way up to ensure even coverage. For a seamless look, place candies close together.
-
Create Patterns: Be creative with your design. You might opt for horizontal stripes with alternating colors or a spiral pattern using candy canes.
-
Add a Topper: Complete your candy tree with a topper. A star-shaped candy or a small decorative ornament can provide an elegant finish.
Creative Variations:
- Incorporate edible glue for a more secure attachment if the candy tree will be displayed for an extended period.
- Consider using themed candies, such as red and green sweets, to reinforce the Christmas theme.
These simple yet creative steps will help you produce a candy Christmas tree that is sure to be a festive centerpiece in your home.
Crafting Candy Garlands
Crafting candy garlands is a delightful way to infuse your holiday decorations with sweetness and creativity. These garlands can elegantly drape over your Christmas tree, gracefully accentuate a mantle, or even charmingly frame a doorway. The process of making these garlands involves selecting the right candies, preparing them for crafting, and assembling them with precision.
Begin by selecting candies that are vibrant in color and diverse in shape. Hard candies, such as peppermint swirls and butterscotch drops, work wonderfully as they are durable and can withstand handling during the crafting process. Soft candies, like gummy rings, may also be used but require additional handling care.
Materials you’ll need include:
- Assorted candies
- Thread or fishing line
- Needle
- Scissors
Start by threading a needle with your choice of string—fishing line or a strong thread is highly recommended due to its durability. Tie a knot at the end of your line to secure the candies in place. Carefully pierce each candy with the needle, stringing them in your desired order. Alternating colors and sizes can create a visually appealing pattern.
As you create your garland, periodically hold it up to evaluate its appearance. This allows you to adjust your design as needed for balanced spacing and symmetry. Once you are satisfied, knot the other end to secure your festive creation.
“A well-crafted candy garland can capture the essence of the holiday season, bringing joy and a touch of personalization to your Christmas decor,” expert decorators often say. Experiment with different candy styles and configurations to craft a unique piece that showcases your holiday spirit.
Designing Candy Wreaths
Creating a candy wreath is a delightful way to add a sweet touch to your Christmas decor. To begin, choose a sturdy base. A foam wreath form is ideal as it provides a stable structure and is easy to work with.
Next, select the candy. Opt for individually wrapped candies to maintain freshness and hygiene. Hard candies, like peppermints and lollipops, are excellent for their vibrant colors and longevity. You may also incorporate chocolate pieces in well-ventilated areas to prevent melting.
Follow these steps to design your candy wreath:
-
Prepare the Base: Wrap the entire foam form with ribbon or fabric in a color that complements your chosen candies. This step ensures that any gaps between candies are attractively covered.
-
Arrange the Candy: Lay out your design by placing candies on the wreath without adhesive. This allows you to visualize the final product and adjust as needed.
-
Attach the Candy: Use a hot glue gun to secure candies to the wreath base. Be cautious with heat to avoid melting or damaging the candy wrappers. For more fragile candies, consider using adhesive dots or floral pins.
-
Add Decorative Elements: Enhance your wreath with additional elements such as small ornaments, pinecones, or festive bows. These accents add depth and contrast.
Finally, ensure the wreath is well-supported. Hang it using a strong wire or ribbon to prevent sagging. With these steps, you will create a charming candy wreath that delights both the eyes and the taste buds.
Adding Personal Touches
Adding personal touches to your candy decorations allows you to infuse them with unique character and charm. Transform your creations by incorporating custom elements and imaginative details that reflect your style and the spirit of the holiday season.
Personalized Labels and Tags:
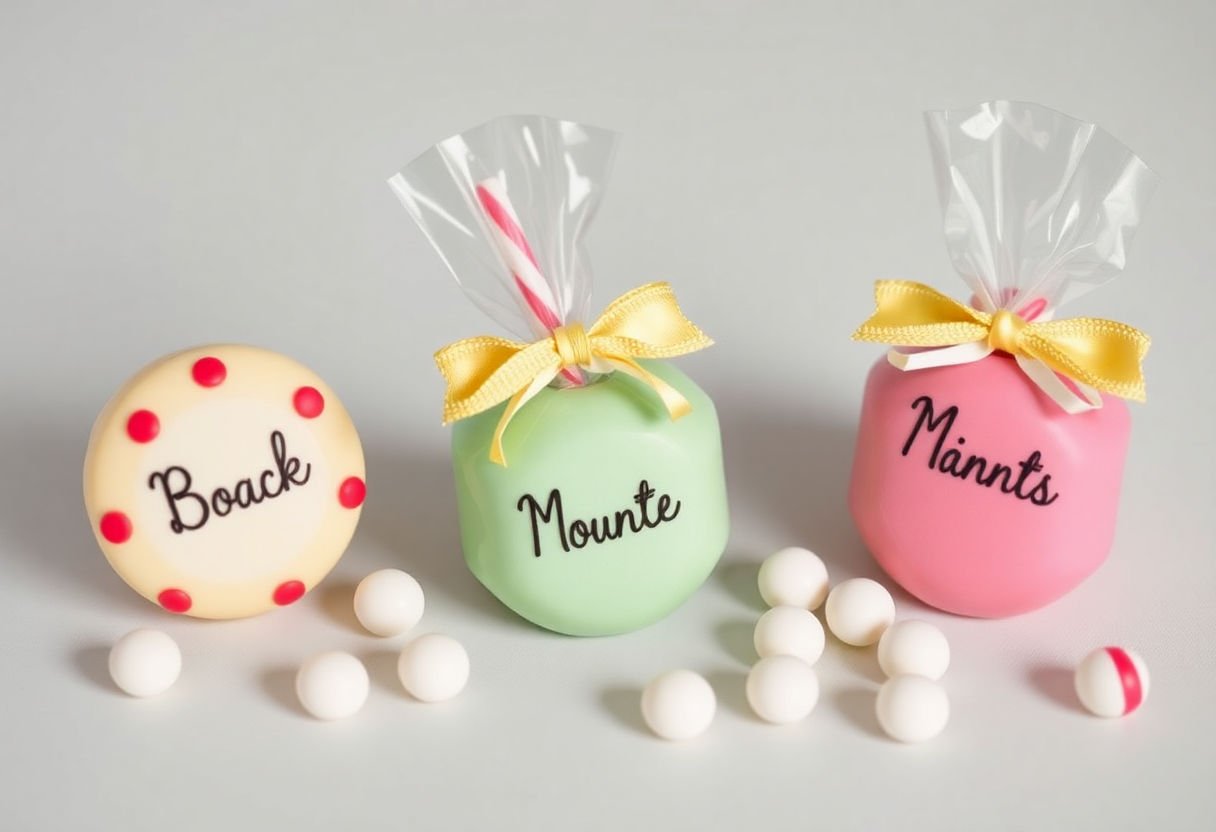
Crafting personalized labels or tags for your candy decorations is an excellent way to make them stand out. Use elegant card stock or festive paper, and consider printing each family member’s name or a special holiday greeting. Attach these labels with decorative ribbons, adding a touch of sophistication and sentimentality.
Incorporating Unique Materials:
Enhance your candy creations by introducing unexpected materials such as sparkling glitter, delicate lace, or fragrant cinnamon sticks. These elements not only add visual interest but also introduce textures and aromas that create a multisensory experience. For instance, intertwining strands of colored ribbon through your candy garlands can make them visually appealing while adding festive flair.
Reflecting Personal Preferences:
Tailor your candy decorations by selecting candies and embellishments that resonate with personal memories or traditions. Maybe it’s using peppermint bark to conjure childhood Christmases or vibrant gumdrops that remind you of past holidays. By choosing items that hold meaning, your decorations will embody a deeper personal connection.
Sentimental Ornaments:
Incorporate small ornaments or trinkets that hold sentimental value into your candy displays. These could include mini-photo frames with cherished images or tiny keepsakes that have been passed down through generations. Such additions enrich the decoration’s narrative and immortalize treasured memories through creative display.
These personalized touches not only enhance the visual appeal of your decorations but also infuse them with heartfelt meaning, making your holiday decor truly unforgettable.
Storing and Preserving Candy Decorations
Storing and preserving candy decorations during the holiday season is essential to maintain their appearance and quality. Proper storage practices ensure that your handmade creations last from the beginning of the holiday season until the New Year.
One of the most important factors is to keep humidity away from candy decorations. Moisture can cause candies to become sticky and lose their shape, particularly those made with sugar. To prevent this, store your candy decorations in a cool, dry place. Airtight containers work well for keeping out humidity. Additionally, consider placing a packet of silica gel with your candy decorations to absorb any potential moisture.
Temperature control is equally crucial. Extreme temperatures—either too hot or too cold—can affect the structural integrity of candy. Avoid storing them in areas that experience rapid temperature shifts, such as near kitchen appliances or windows. A closet or pantry away from direct sunlight is ideal.
To protect the candies from dust and pests, wrap your decorations carefully. Use wax or parchment paper as a barrier before enclosing them in plastic or glass containers. This extra layer helps preserve the candy’s surface without causing condensation.
Lastly, avoid excessive handling of the decorations. Frequent contact can leave oils from hands on the candy, leading to deterioration. When you feel the need to handle them, consider wearing clean, cotton gloves.
By following these guidelines, your festive candy decorations will remain intact and vibrant throughout the Christmas season.
Safety Considerations
When crafting festive Christmas candy decorations, safety is of paramount importance, especially when involving children. Here are several key considerations to ensure a safe and enjoyable crafting experience:
-
Supervision: Always supervise young children when working with small candies to prevent choking hazards. Many decorations require the use of small, round candies that can easily become lodged in a child’s throat if accidentally ingested.
-
Allergies: Be mindful of food allergies. Candies often contain common allergens such as nuts, gluten, or dairy. It’s crucial to verify the ingredient lists, especially if the decorations will be in an environment with children or guests who might be sensitive to these ingredients.
-
Non-Toxic Materials: Select only non-toxic adhesive and materials. Some glues or tapes can contain harmful substances not safe for consumption or that might emit fumes. Use only food-safe options to secure your candy decorations.
-
Safe Crafting Tools: Utilize safe tools when cutting or shaping candies. If scissors or knives are needed, they should be handled by adults or older children with proper instruction. Using kid-friendly craft tools can help reduce the risk of accidents.
-
Hygiene: Maintain proper hygiene. Wash hands thoroughly before handling candies to prevent spreading germs. If the decorations are intended as edible treats, this step is even more critical.
By observing these safety measures, you can enjoy a delightful and secure crafting experience, ensuring that the festive spirit is both fun and safe for everyone involved.
Conclusion
Creating festive Christmas candy decorations is a delightful endeavor that enhances your holiday spirit while allowing your creativity to flourish. By choosing the right candies and mastering basic techniques, anyone can craft unique decorations like candy trees, garlands, and wreaths. These decorations not only add personal touches to your home but also offer an opportunity for family bonding. As you store and preserve these creations, consider their safety around children. Embrace this creative journey, and indulge in the sweet rewards of your labor that will bring joy to you and your loved ones season after season.
Frequently Asked Questions
What types of candy work best for Christmas decorations?
Sturdy candies such as peppermints, gumdrops, and hard candies are ideal for Christmas decorations as they hold their shape and color well. For added durability, consider candies that have been wrapped in cellophane to protect them from moisture.
How do I ensure my candy decorations last throughout the holiday season?
To preserve your decorations, store them in a cool, dry place away from direct sunlight. Consider using a sealant spray over your completed candy decorations to prevent melting and color fading.
Can I eat the candy decorations after the holidays?
While technically edible, candy decorations used for crafting are often not recommended for consumption due to the exposure to glue and other crafting materials. For safety, consider them decorative rather than edible.
How can I add a personal touch to my candy decorations?
Incorporate personal elements such as ribbons or small ornaments that reflect your holiday theme or family tradition. Additionally, consider using personalized name tags or messages for a unique touch.
Are there any safety tips to consider when crafting with candy?
When crafting with candy, especially around children, ensure that small, hard candies are not a choking hazard. Always supervise young children and use non-toxic glues and materials to avoid accidental ingestion.