Crafting your own Halloween inflatables offers a unique opportunity to set a spooky and enchanting tone for your festivities. This article guides you through the process of creating custom decorations that capture the eerie essence of Halloween. From selecting the right materials to designing spooky figures, and mastering crafting techniques, you’ll learn everything needed to bring your ideas to life. Additionally, discover how to light, weatherproof, and properly store your creations. As you delve into this guide, explore the creative and practical aspects of showcasing your DIY inflatables, ensuring a memorable and safe experience for all.
Key Takeaways
- Creating bespoke Halloween inflatables allows for unique and personalized decorations, enhancing the spooky ambiance of your festivities.
- Selecting the right materials ensures durability and longevity, making your inflatables suitable for reuse in future seasonal celebrations.
- Crafting techniques, including cutting and sewing, empower you to bring intricate and captivating designs to life.
- Proper lighting and weatherproofing amplify the visual impact of your inflatables and make them suitable for outdoor displays.
- Understanding safety considerations is crucial to ensuring that your DIY creations are not only eye-catching but also safe for all visitors.
Choosing the Right Materials
Selecting the appropriate materials for your DIY Halloween inflatables is crucial to ensuring a spooky yet durable display. High-quality fabric is the foundation of a long-lasting inflatable. Choose a fabric that is lightweight, weather-resistant, and robust, such as ripstop nylon or polyester. These materials will withstand outdoor elements and maintain their shape without adding unnecessary weight.
Here are some considerations for material selection:
- Durability: Opt for heavy-duty materials that can endure harsh weather conditions. PVC-coated fabrics offer excellent strength and are resistant to wear and tear.
- Flexibility: Ensure that the fabric is flexible enough to be easily sewn and shaped. A flexible material allows for more intricate designs and easier manipulation during crafting.
- Color: Use brightly colored materials that are fade-resistant. This will enhance visibility and ensure your inflatables remain vibrant throughout the season.
In addition to fabric, inflatable structures rely on airtight materials to maintain their form. Consider using heat-sealable materials or applying sealants where necessary to ensure all seams and connections are airtight. This will prevent air leaks, preserving the structure and appearance of your inflatables.
For added detail and character, incorporate various decorative materials, such as fabric paint or waterproof markers, to craft eerie designs and patterns. Remember, the right selection of materials not only contributes to the aesthetic appeal of your Halloween inflatables but also to their overall performance and longevity.
Designing Your Inflatable
Creating your own Halloween inflatable design is a blend of imagination and strategic planning. To start, consider the theme of your decoration. Whether you’re channeling classic Halloween motifs such as ghosts and pumpkins, or aiming for something more unique like mythical creatures, a well-defined theme helps streamline your creative process.
Sketch Your Vision: Begin by drafting sketches of your desired inflatable. Consider the dimensions, as the size will impact not only material necessity but also the visual impact in your yard or event space. Keep in mind the balance between height and stability to ensure it stands upright.
Select a Color Palette: Color greatly influences the atmospheric tone. Traditional Halloween colors such as black, orange, and purple are excellent choices. However, don’t shy away from incorporating unexpected hues to add a personal flair to your design.
Add Detailing: Intricate details can transform a simple inflatable into an eye-catching display. Incorporate elements such as fangs, eerie eyes, or textured fabrics to enhance the spookiness. Consider how these additional features can be highlighted with lighting for maximum effect.
Prototype and Test: Construct a small-scale prototype to test your design’s feasibility. This will allow you to identify any potential structural weaknesses or design flaws before committing to a full-scale creation. It also provides an opportunity to assess how your chosen colors and details work together in practice.
Remember, the goal is to create an inflatable that captivates and enthralls any who encounter it, adding a unique touch to your Halloween festivities.
Crafting Techniques

In crafting your Halloween inflatables, the first technique involves precise cutting of the fabric, which is foundational to your creation’s shape and design. Use sharp scissors or a rotary cutter for clean edges, ensuring uniformity across your pieces. Measurement accuracy cannot be overstated; careful planning and cutting are crucial to achieving a seamless assembly.
Next, sewing the fabric pieces together requires attention to detail. Employ a zigzag stitch on your sewing machine, which offers flexibility and strength, accommodating the stretchiness of most inflatable materials. Utilize polyester thread for its durability and resistance to elements, making it ideal for outdoor displays. Align the edges meticulously to avoid air leaks and maintain a cohesive structure.
Incorporating small vents and air inlets is another essential technique to focus on. Ensure that your design allows for the insertion of a fan or blower, which will keep your inflatable upright and animated. Double-stitch around these areas for extra fortitude, as they experience the most stress.
For added effects, consider integrating 3D textures and features. This could include attaching lightweight embellishments such as fabric or foam details to enhance the spooky appeal of your creation. These elements should be sewn on securely, yet spaced evenly to maintain balance when inflated.
Finally, test your inflatable thoroughly before display. Inflate it in a controlled environment to check for any weaknesses or leaks. Making adjustments at this stage will ensure your Halloween display remains striking and maintains its form throughout the festivities.
Lighting Your Inflatables
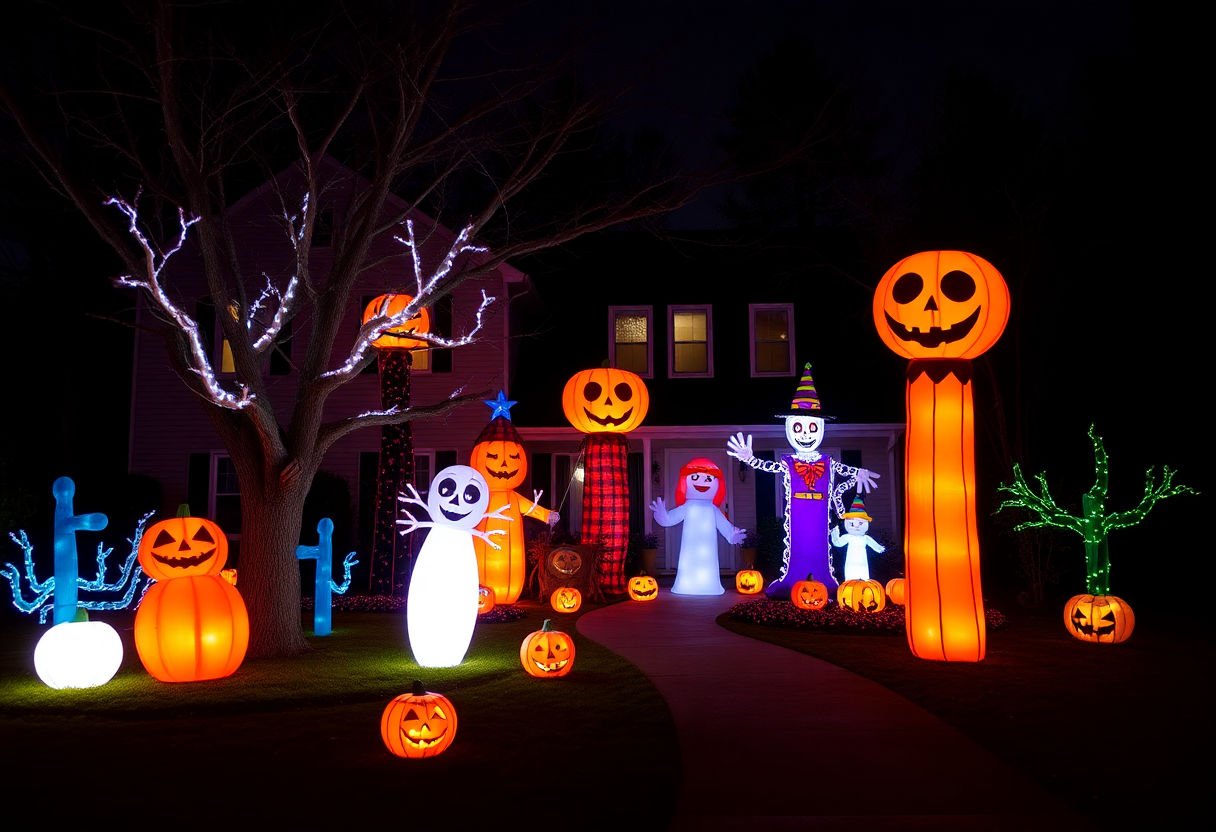
Enhancing the spooky allure of your DIY Halloween inflatables can be achieved through strategic lighting. Illumination not only highlights the intricate details of your designs but also contributes to the eerie atmosphere essential for Halloween. There are several methods and considerations for effectively lighting your inflatables.
Types of Lighting:
- LED Lights: LED lights are popular due to their energy efficiency and longevity. They offer a bright, consistent glow ideal for both indoor and outdoor inflatables.
- String Lights: These versatile lights can be woven through the inflatable’s interior frame to create a dramatic effect. Choose colors like orange, purple, or green to heighten the Halloween spirit.
- Spotlights: Positioning LED spotlights outside the inflatable can enhance specific features, casting menacing shadows and adding depth.
Installation Tips:
- Ensure all lighting components are securely fastened and distributed evenly inside the inflatable to avoid damage or overheating.
- For outdoor setups, verify that all lights are weatherproof and appropriately rated for external conditions to prevent electrical hazards.
Power Sources:
- Battery-Powered: These are convenient and prevent the hassle of trailing wires, though they may require frequent battery replacements.
- Solar Powered: A sustainable option, especially effective in well-lit areas, though dependent on adequate sunlight exposure.
- Plug-In: While offering a continuous power supply, ensure safe connections by using waterproof extension cords and protecting plugs from moisture.
By thoughtfully incorporating these lighting techniques, your Halloween inflatables can exude a spectral glow that captivates and spooks all who pass by.
Weatherproofing for Outdoor Use
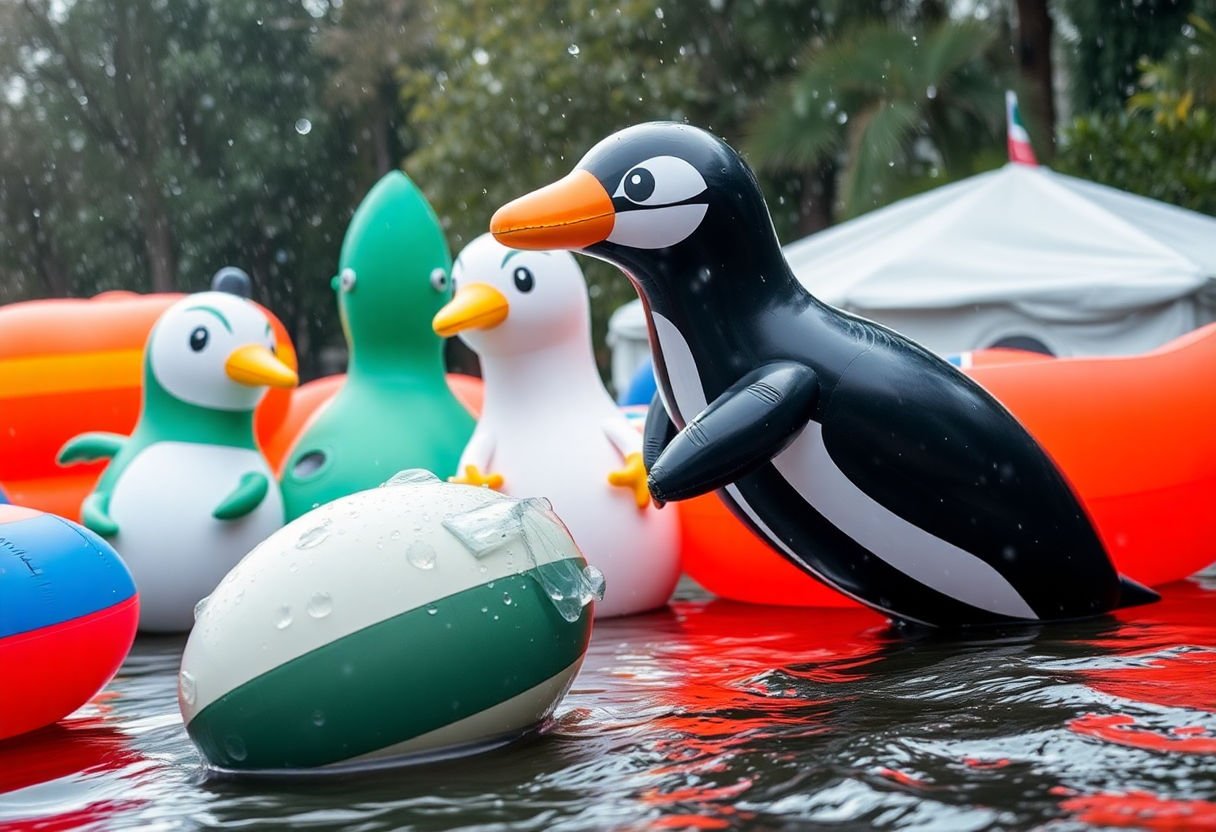
To ensure your DIY Halloween inflatables withstand the elements and maintain their spooky appeal throughout the season, consider these essential weatherproofing methods:
-
Material Selection: Choose fabrics and materials that naturally repel water, such as polyester or vinyl. These materials not only provide durability but also help protect the inflatables in wet conditions.
-
Waterproof Coating: Apply a waterproof spray or coating to your inflatables. Products specifically designed for outdoor fabrics can add an extra layer of protection against rain and moisture.
-
Reinforced Seams: Enhance the durability of your inflatables by reinforcing the seams. Double stitching with waterproof thread can prevent water from entering through weak points, ensuring longevity.
-
Weighted Anchors: Secure your inflatables with weighted anchors to keep them stable in windy conditions. Proper anchoring will prevent your spooky decor from becoming airborne, which can cause damage.
-
Protective Covers: When inclement weather is expected, use protective covers to shield your inflatables. Quick deployment of covers can prevent excessive wear from storms or harsh sunlight.
-
Elevation Techniques: Place your inflatables slightly above ground level to reduce contact with wet soil or puddles. Elevated platforms or stands can help maintain the dryness of the base, reducing the risk of mildew or dirt accumulation.
Implementing these weatherproofing strategies will not only extend the lifespan of your Halloween creations but also ensure they continue to bring a ghastly charm to your outdoor spaces, regardless of the weather.
Storing Your Creations
Proper storage of your DIY Halloween inflatables is essential to ensure their longevity and reuse for many spooky seasons to come. Begin by cleaning your inflatables before storage. Remove any dirt or debris using a damp cloth, and allow them to dry completely to prevent mold or mildew growth.
Opt for a cool, dry storage space to maintain the integrity of the materials. Humidity and heat can cause colors to fade and materials to degrade. Ideally, an indoor space such as a closet, attic, or basement—provided it is well-ventilated and free of moisture—will suffice.
Gently deflate the inflatables, taking care not to pinch or damage any seams. If your creation involves complex shapes or appendages, slightly roll or fold these areas to preserve their shape. Avoid sharp creases that might be difficult to remove when reinflating.
Store inflatables in sturdy containers, such as plastic bins or boxes, to shield them from dust and potential pest damage. Label each container clearly to make the retrieval process seamless. If your inflatable includes lights or electrical components, consider keeping these accessories in the same container or in a separate, well-marked box to prevent tangling or loss.
A quick quote from a storage expert: “Properly maintaining seasonal decorations not only saves money but preserves the sentiment and creativity for years to come.”
Finally, make a habit of performing a quick inspection next Halloween before setting up your inflatables. This ensures they are in good condition and brings peace of mind as you decorate for another festive holiday season.
Showcasing Your DIY Inflatables
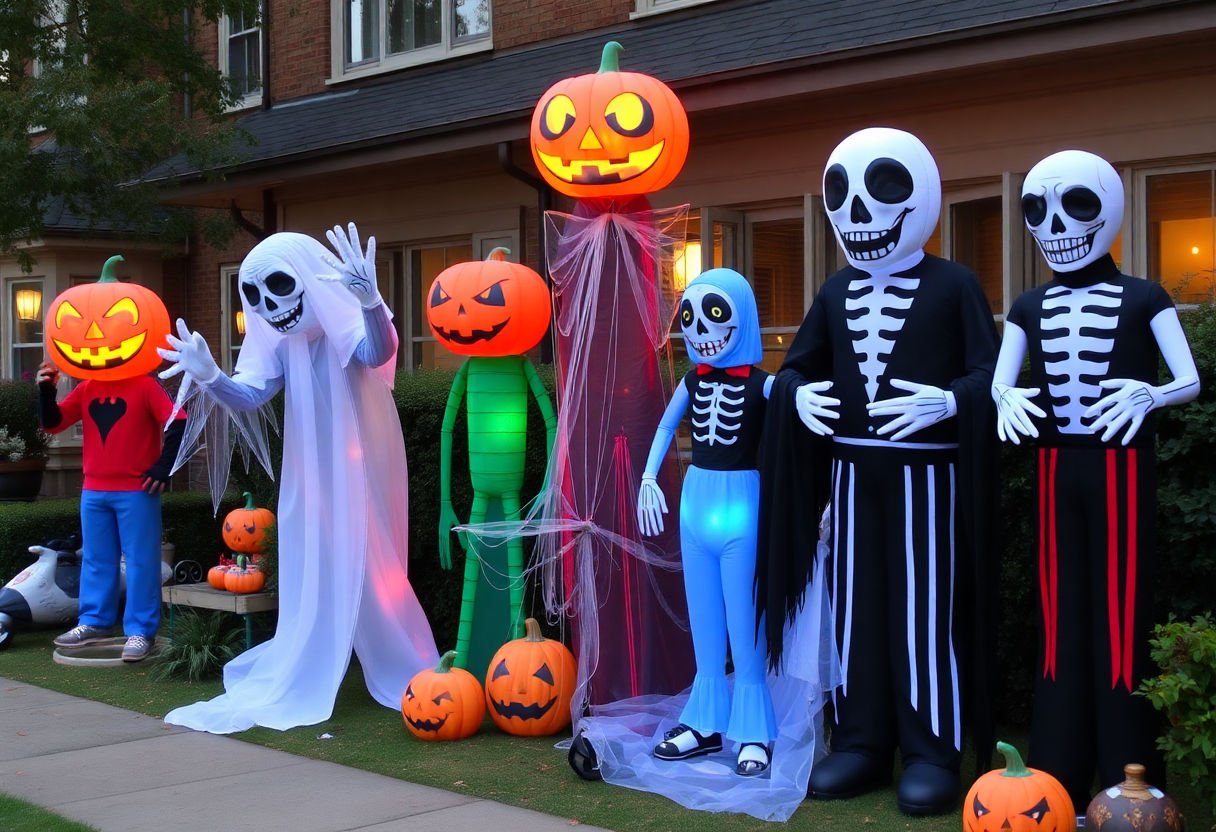
Displaying your DIY Halloween inflatables effectively can transform your yard into a captivating scene, drawing admiration from guests and passersby alike. Here are some creative ideas for showcasing your handcrafted inflatables:
-
Front Yard Focal Point: Position your largest inflatable at the center of your front yard to serve as the focal point. Surround it with smaller decorations or thematic elements like cobwebs, pumpkins, or tombstones to enhance its presence.
-
Pathway Guides: Use your inflatables to line walkways leading to your front door. This not only guides visitors safely but also creates an immersive experience. Consider using inflatables in varying sizes and designs to add depth and interest.
-
Window Displays: Place smaller inflatables inside windows for an eerie glow that captivates attention from the street. Ensure they are visible at night by backlighting them effectively.
-
Roof Installations: For an impressive display, consider placing your inflatable on the roof. Make sure it is securely fastened to withstand any weather conditions.
-
Vignettes and Themes: Arrange your inflatables in thematic groups—such as a witch’s gathering or a ghoul’s soirée—to create engaging stories in your yard. Use props and additional lighting to add to the narrative.
Remember to regularly inspect your inflatables for stability and safety, especially if they are exposed to the elements. By thoughtfully arranging and lighting your inflatables, you can ensure they remain the star of your Halloween décor, delighting both young and old with their festive charm.
Safety Considerations
To ensure that your DIY Halloween inflatables are safe for all who interact with them, there are several key safety measures to consider throughout the creation and display process.
Flame Retardancy: It is crucial to select materials that are either naturally flame-resistant or have been treated to be so. This will minimize the risk of fire, especially if you plan to use lights or other electrical components inside your inflatables. You can purchase flame retardant sprays to apply to fabrics for added safety.
Electrical Safety: When incorporating lighting into your inflatables, prioritize the use of low-voltage LED lights as they generate less heat. Ensure all electrical connections are secured and insulated to prevent short circuits. Use weatherproof extension cords designed for outdoor use to provide power, and avoid placing electrical elements near the ground where moisture could accumulate.
Inflation and Pressure Management: Over-inflation can cause seams to burst, leading to potential damage and injury. Inflate your creations just enough to maintain their shape, allowing for a bit of give when pressed. Regularly inspect seams and repair any weakened areas promptly with fabric glue or patches.
Secure Anchoring: Properly anchor your inflatables to prevent them from being dislodged by wind, which could result in accidents. Use strong, durable stakes and ropes to secure them to the ground, ensuring they are firm yet adequately flexible to withstand gusts.
By adhering to these safety practices, you can enjoy the festive allure of your Halloween inflatables without compromising on safety.
Conclusion
In crafting your own Halloween inflatables, you embrace both creativity and practicality, culminating in a truly personalized spooky atmosphere. The skills acquired—ranging from material selection to weatherproofing—equip you to not only create striking displays but also ensure longevity with proper storage. As you showcase your unique designs, these DIY inflatables become a conversational centerpiece, captivating your audience while ensuring safety. Embrace this transformative opportunity to elevate your festive environment, keeping the spirit of innovation alive for future celebrations. Let your imagination run free, and delight in the eerie magic only custom inflatables can bring.
Frequently Asked Questions
How long does it usually take to create a DIY Halloween inflatable?
The time required to create a DIY Halloween inflatable depends on the complexity of the design and your skill level. On average, a simple project might take a few hours, while more intricate designs could take a weekend to complete.
What type of fabric is best suited for making inflatables?
Lightweight, durable fabrics such as ripstop nylon or polyester are commonly used for inflatables. These materials are strong yet easy to work with, and they hold up well against environmental stressors like wind and sun.
Can I use regular sewing techniques on inflatable materials?
Yes, you can use regular sewing techniques, but it is crucial to use reinforced stitches and high-strength thread to ensure durability. Consider using double or triple stitching to prevent air leaks.
How can I safely store my inflatables when Halloween is over?
Clean and thoroughly dry your inflatables before storing them in a cool, dry place. Ensure they are deflated entirely to prevent mold growth and store them in a sturdy container to avoid damage.
Is it easy to add lighting to homemade inflatables?
Adding lighting is relatively straightforward if you use LED strips or waterproof string lights. Ensure that the lighting components are weatherproof if the inflatable will be used outdoors.


