Transform your Halloween ambiance into a mesmerizing experience with DIY bright pathway lights. These crafts not only serve as a beacon, guiding guests safely to your doorstep but also enhance the festive vibes of your outdoor decor. From selecting the right materials to ensuring safety, this guide offers step-by-step instructions, creative design ideas, and eco-friendly options. By embracing these custom illuminations, you’ll create a captivating atmosphere that is both cost-effective and sustainable. Dive into the world of creativity as you discover how to bring your Halloween decorations to life, ensuring a memorable experience for all who visit.
Key Takeaways
- Learn how to craft cost-effective DIY pathway lights to illuminate your Halloween decorations, enhancing both aesthetics and functionality.
- Master essential safety protocols to ensure a hazard-free and enjoyable Halloween atmosphere for all visitors.
- Explore diverse design ideas to transform your outdoor space into an enchanting Halloween display, using creativity and available resources.
- Grasp the best strategies for positioning and maintaining your lights to maximize their impact and longevity.
- Discover eco-friendly lighting alternatives that provide sustainable options while reducing environmental footprints.
Planning Your Design
Embarking on the journey to design your Halloween pathway lights requires a thoughtful approach that combines creativity with practicality. Begin by gathering inspiration from various sources such as online design platforms, holiday magazines, or even local Halloween displays. Consider the thematic elements you wish to incorporate—whether they lean towards the traditional black and orange, the elegant whites and silvers, or more avant-garde choices like ultraviolet and neon colors.
Once inspired, proceed to sketch your ideas. Sketching is a crucial step that helps visualize the end product, allowing for adjustments and enhancements. Aim for a cohesive design that resonates with your overall Halloween theme, whether spooky, whimsical, or classic.
Selecting a theme is pivotal in the design process. Decide whether your lights will convey a haunted house ambiance, a magical fairyland, or a minimalist aesthetic. Themes guide your decisions on color, shape, and components. For instance, a haunted theme might incorporate skulls and bats, while a whimsical theme might use pumpkins and cats.
Additionally, consider the layout of your pathway lights. Will they follow a straight path, meander whimsically, or alternate on either side of the pathway? This decision can significantly impact the flow and inviting nature of your setup.
Ultimately, thoughtful design planning ensures that your DIY pathway lights not only illuminate but also become an intricate part of your Halloween décor, enhancing the mystical aura and delighting your guests.
Essential Materials and Tools
To illuminate your Halloween pathway, a thoughtful selection of essential materials and tools is crucial for a successful DIY project. Here’s what you need to get started:
-
LED Lights: Opt for energy-efficient LED lights. They come in various colors and styles, such as string lights or individual bulbs, perfect for creating a spooky atmosphere.
-
Weather-Proof Light Casings: Protect your lights with durable casings that can withstand the elements. Consider using mason jars or plastic containers which allow for creative customization.
-
Power Source: Depending on your setup, choose between solar-powered batteries or electric cables. Solar lights are eco-friendly and avoid the hassle of cords, while traditional setups may require extension cords.
-
Decorative Elements: Enhance the spooky appeal with items like plastic pumpkins, cobwebs, or themed cutouts. These can be attached to the light casings with hot glue or adhesive strips.
For the tools, ensure you have:
-
Crafting Tools: Scissors, a hot glue gun, and a cutting mat are indispensable for precise crafting and assembly of decorations.
-
Basic Electrical Tools: If installing a wired setup, wire cutters and strippers are necessary.
-
Measuring Tape: Ideal for spacing lights evenly along the pathway, ensuring an organized and professional look.
Before starting, it is recommended to create a list and check it twice, akin to a famous holiday preparation, to ensure everything is on hand. By assembling these materials and tools, you’re well-equipped to craft captivating pathway lights that illuminate the Halloween spirit.
Safety Precautions
While embarking on the DIY process for your Halloween pathway lights, it is essential to prioritize safety to ensure a hazard-free experience.
First and foremost, when working with electrical components, ensure all power sources are turned off during assembly. Use insulated tools to handle wires and always test connections with a multi-meter before plugging in your design. Consider using LED lights, as they generate less heat and pose a lower fire risk compared to traditional bulbs.
If your design involves flame elements such as candles, ensure they are safely encased in stable, non-flammable holders and placed away from dry foliage and decorations. Opt for battery-operated or solar-powered lights to eliminate this risk entirely.
While crafting, particularly with sharp tools like saws or knives, wear protective gloves and eyewear to prevent accidents. Maintain a clean workspace, free from clutter, to avoid trips or falls.
Pay attention to material compatibility. When designing with outdoor materials, choose weather-resistant options to withstand external conditions. Use waterproof coatings or enclosures for electrical elements to prevent short circuits, especially in damp or rainy weather.
Consider the placement of pathway lights to avoid impediments to foot traffic. Ensure cables are neatly arranged and secured, potentially using cable protectors, to prevent tripping hazards.
Lastly, familiarize yourself with local safety regulations and guidelines for outdoor decorations. Adhering to these can provide peace of mind, allowing you to focus on creating a memorable Halloween atmosphere while keeping your guests and home safe.
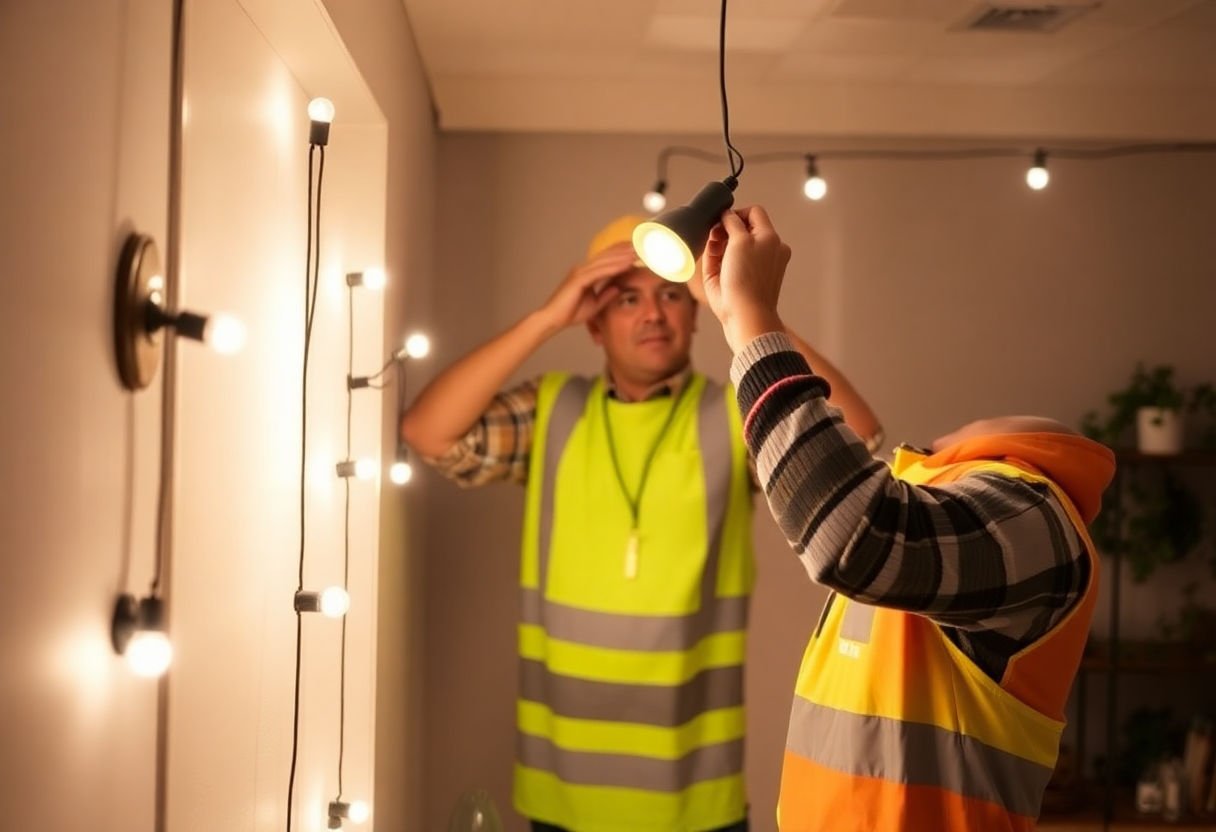
Assembling the Lights
To bring your Halloween pathway lights to life, follow these precise steps to ensure a seamless assembly. First, begin by laying out your materials in an organized manner. This should include your selected LED lights, battery packs, weather-resistant casings, and any necessary wiring.
Assembling the Circuit:
- Connect the LED lights to the battery pack, ensuring the polarity is correct. Most LED setups will require you to connect positive to positive and negative to negative.
- Use wire connectors or electrical tape to secure these connections, minimizing the risk of short circuits.
Securing the Components:
- Place the assembled circuit into a waterproof casing to protect it from the elements. Look for casings specifically designed for outdoor use to provide maximum protection against moisture and debris.
- Seal any openings in the casing with silicone or waterproof tape to further safeguard against water ingress.
Adding Decorations:
- Once the functional components are secure, it’s time to add your personal touch. Consider wrapping the lights with translucent colored films to create a mysterious glow or incorporate fabric to simulate spooky figures like ghosts or goblins.
- You might also use acrylic paints or markers safe for electrical components to add designs directly onto the casings.
Each step requires careful attention to detail to ensure both safety and functionality. With the components securely assembled and beautifully decorated, your Halloween pathway lights are ready to captivate and enchant all who venture down your illuminated paths.
Unique Decoration Ideas
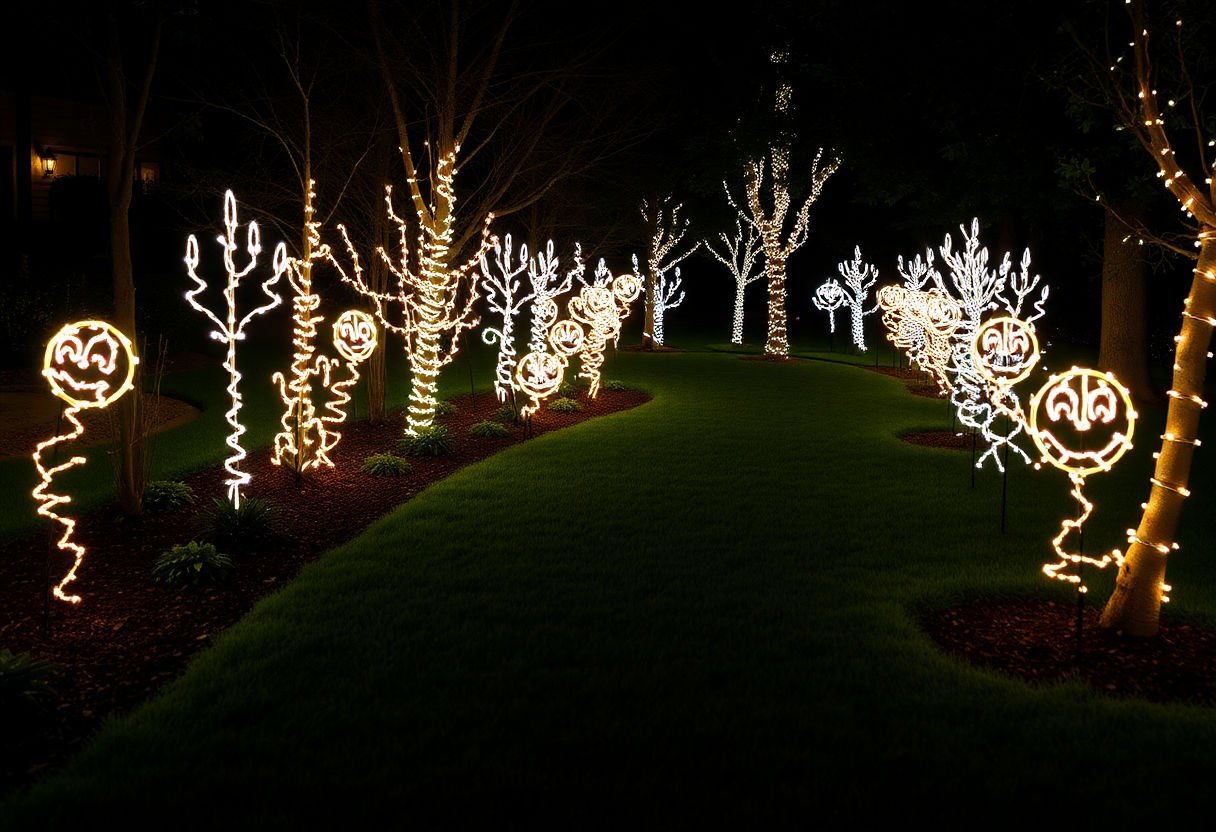
Creating a captivating Halloween ambiance involves more than just lighting the way. Unique decoration ideas for your pathway lights can significantly enhance the festive atmosphere. Here’s how you can elevate your setup:
-
Spooky Silhouettes: Craft silhouettes of classic Halloween figures such as witches, ghosts, and bats. Attach these cutouts to your pathway lights to cast eerie shadows, transforming your garden into a scene from a ghost story.
-
Themed Covers: Use pumpkin-shaped or skull-shaped light covers to add a thematic touch. These covers can be made from durable materials like plastic or carved from craft foam to ensure they withstand outdoor conditions.
-
Creative Light Patterns: Instead of standard illumination, consider using light projectors to cast creepy patterns across the ground. This technique can highlight the path with floating shapes and figures, leaving guests in awe as they approach your door.
-
Incorporate Seasonal Elements: Adorn the lights with fall leaves, twigs, or corn husks. These natural elements not only enhance the Halloween theme but also blend seamlessly with the season’s palette.
-
Animated Features: Introduce motion sensors that trigger effects like flickering lights or unexpected sounds as guests pass by. This can add an interactive element to your pathway lighting, making the experience more engaging.
By implementing these innovative ideas, you can ensure that your pathway lights do more than illuminate—they will form an integral part of your Halloween decor, adding mystery and enchantment to the evening.
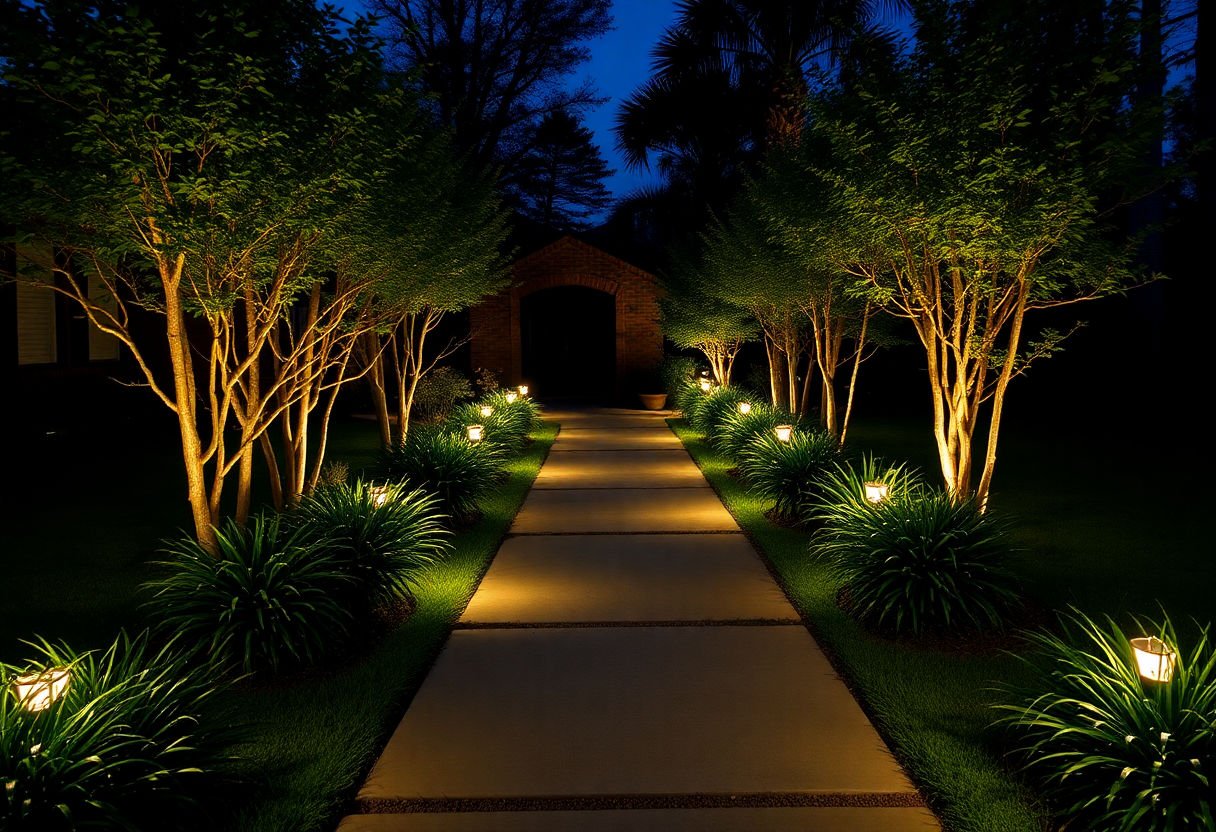
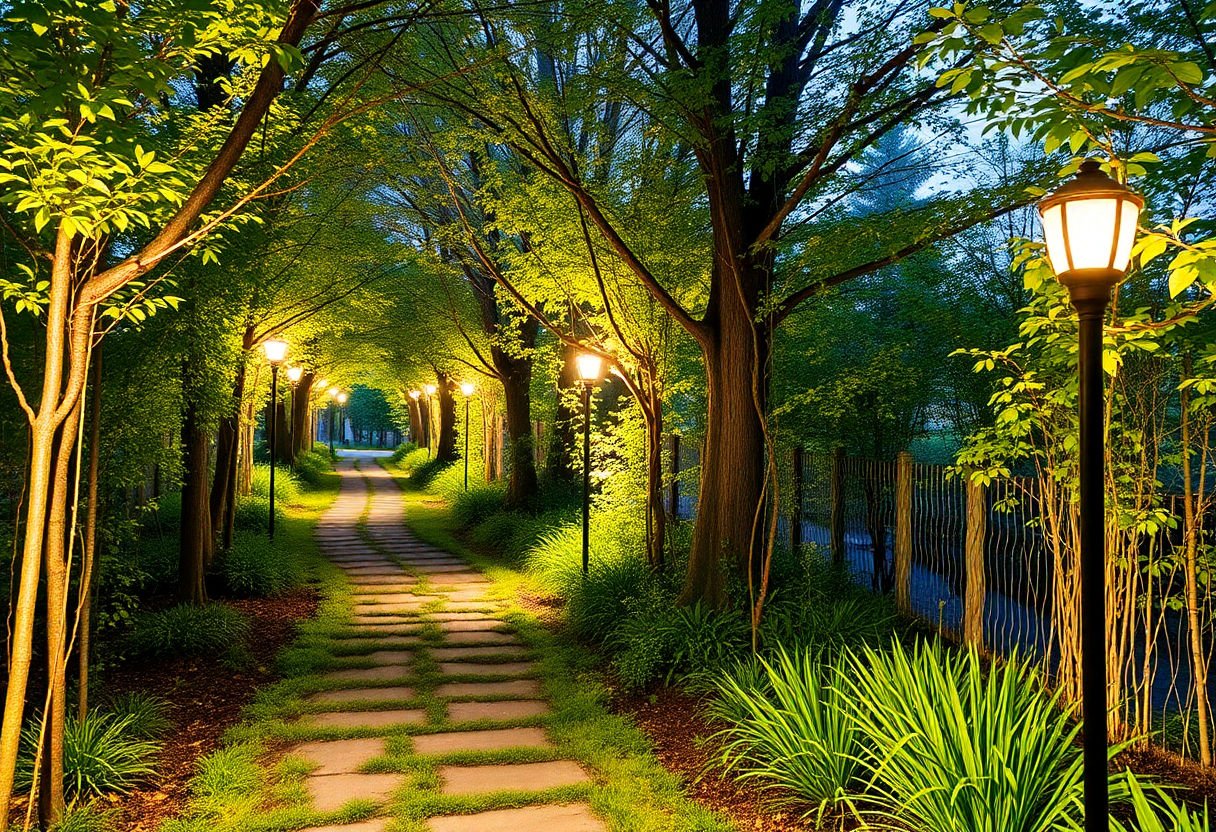
Positioning and Installation
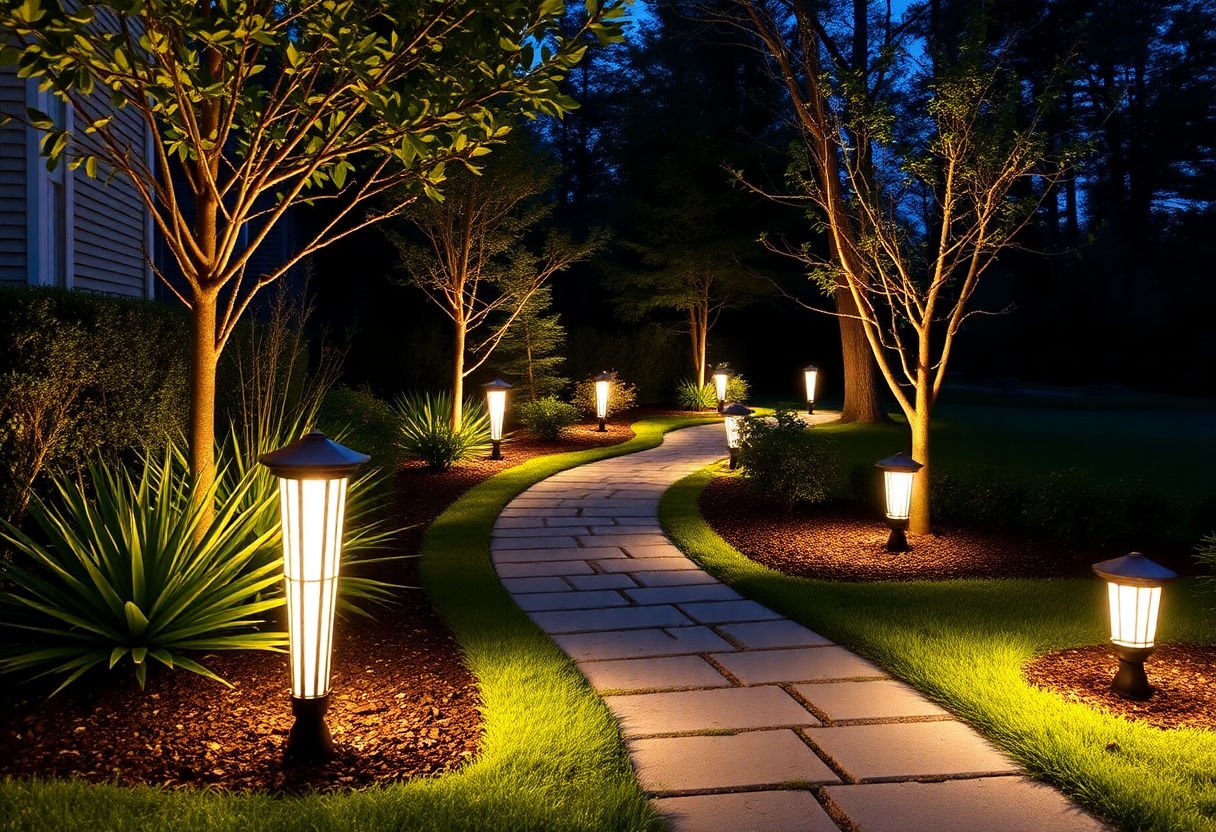
When it comes to positioning your DIY Halloween pathway lights, strategic placement can transform your outdoor space into a captivating spectacle that guides and delights your visitors. Thoughtful installation ensures that each light contributes to the overall ambiance while providing adequate illumination for safety.
Strategic Placement
To achieve the desired ethereal effect, begin by assessing your pathway’s layout and identifying key areas that require highlighting. Consider these guidelines:
- Highlight Path Boundaries: Position lights at regular intervals along the edges of your pathway to delineate the walking area clearly.
- Accent Focal Points: Install lights near key features such as garden ornaments, large trees, or entrances to draw attention and create visual interest.
- Vary Heights: Mix ground-level lights with slightly elevated ones to add dimension and depth to your display.
Installation Tips
Ensure a secure installation by adhering to the following recommendations:
- Stable Foundations: Use sturdy bases or stakes to keep lights firmly in place, especially in areas prone to wind or foot traffic.
- Weatherproofing: Protect electrical connections with waterproof covers or sealants to prevent moisture damage. Choose lights with appropriate IP ratings for outdoor use.
- Energy Efficiency: Opt for LED bulbs to save on energy costs and reduce maintenance needs. Consider solar-powered options for sustainability.
Illuminating your Halloween pathways with strategically positioned lights not only enhances the festive atmosphere but also ensures a safer environment for guests. With proper planning and execution, your pathway lights will create a magical experience that mesmerizes and guides all who approach your doorstep.
Maintaining Your Lights
To ensure your pathway lights remain vibrant throughout the Halloween season and beyond, proper maintenance is essential. Begin with regular cleaning to prevent dirt and debris from dulling the glow of your lights. Use a soft cloth or mild detergent solution to wipe down surfaces and remove any grimy buildup. Ensure fixtures are completely dry before turning them back on.
Furthermore, consider storing your lights properly after the festive season. When disassembling, gently coil cords to avoid tangling and store lights in a cool, dry location. Utilize storage containers to keep all components organized and protected from dust and damage. For particularly fragile decorations, using bubble wrap or tissue paper can help preserve their condition.
Regular inspection of your setup will preempt potential issues. Check for frayed cables and ensure all connections remain secure. Replace any burnt-out bulbs promptly to retain consistent illumination. It’s wise to keep some spare parts handy for quick fixes, ensuring your display remains undisturbed.
Implementing simple preventive measures can extend the life of your lights significantly. For example, using waterproof materials helps safeguard your investments against unforeseen weather changes. If possible, opt for LED lights, which are more durable and energy-efficient compared to traditional incandescent bulbs.
Adhering to these maintenance tips not only enhances the longevity of your Halloween decorations but also contributes to a safer, more delightful ambiance for your festive gatherings.
Eco-friendly Lighting Options
To help reduce your carbon footprint during the Halloween season, consider incorporating eco-friendly lighting options into your DIY pathway lights. By making conscious choices, you can enjoy a festive ambiance while contributing to a sustainable environment.
1. Solar-Powered Lights
Solar-powered lights are a fantastic option for outdoor setups. They charge during the day and illuminate your pathways at night without the need for electricity. This not only saves energy but also reduces utility costs. Tip: Ensure the solar panels are positioned in areas with optimal sunlight exposure for efficient charging.
2. LED Lights
LED lights are celebrated for their energy efficiency and long lifespan. They consume up to 80% less energy compared to traditional incandescent bulbs, making them a sustainable choice for your Halloween decor. Additionally, LEDs are available in a variety of colors and can be used to create dynamic lighting effects along your paths.
3. Recycled Materials
When constructing your lighting fixtures, consider using recycled or repurposed materials. Old jars, tins, or even discarded garden items can be transformed into creative lanterns. This practice not only reduces waste but also adds a unique, personalized touch to your Halloween display.
4. Low-Voltage Lighting Systems
For those seeking a wired option, low-voltage lighting systems provide sufficient illumination with reduced energy consumption. These systems are safer and can be easily installed, making them ideal for DIY enthusiasts.
By selecting these sustainable lighting solutions, you’ll enhance your Halloween setup while promoting environmental responsibility.
Conclusion
Crafting your own Halloween pathway lights not only adds a personal touch to your festive decor but also can significantly enhance safety and ambiance. By embracing sustainable practices, you contribute positively to the environment, ensuring your efforts have both immediate and lasting effects. As you channel your creativity into this endeavor, remember that the journey is as rewarding as the destination. Allow your imagination to guide you, and your Halloween display will undoubtedly leave a memorable impression on your guests. Encourage yourself to explore and innovate further, transforming each Halloween into a brighter and more enchanting experience.
Frequently Asked Questions
How can I ensure my Halloween pathway lights are safe for outdoor use?
To ensure safety, always use waterproof and weather-resistant materials. Additionally, keep electrical components protected with coverings and employ ground fault circuit interrupters (GFCIs) for further protection against electrical hazards.
What are the best materials for DIY pathway lights?
Choose durable and weather-resistant materials such as plastic or metal for the structure. LEDs are ideal for lighting as they are energy-efficient and long-lasting.
How can I troubleshoot my pathway lights if they stop working?
First, check the power source and ensure all connections are secure. If issues persist, replace any defective bulbs or consider consulting an electrician for complex problems.
Can I customize the design of my pathway lights?
Absolutely! Personalize your pathway lights by selecting themes that complement your Halloween decor. You can add elements like stencils or colored gels to create unique light patterns.
What eco-friendly options are available for pathway lighting?
Consider using solar-powered lights or LED bulbs, which consume less energy and are more sustainable. These options help reduce your carbon footprint while maintaining an enjoyable ambiance.